
Last updated November 16, 2026
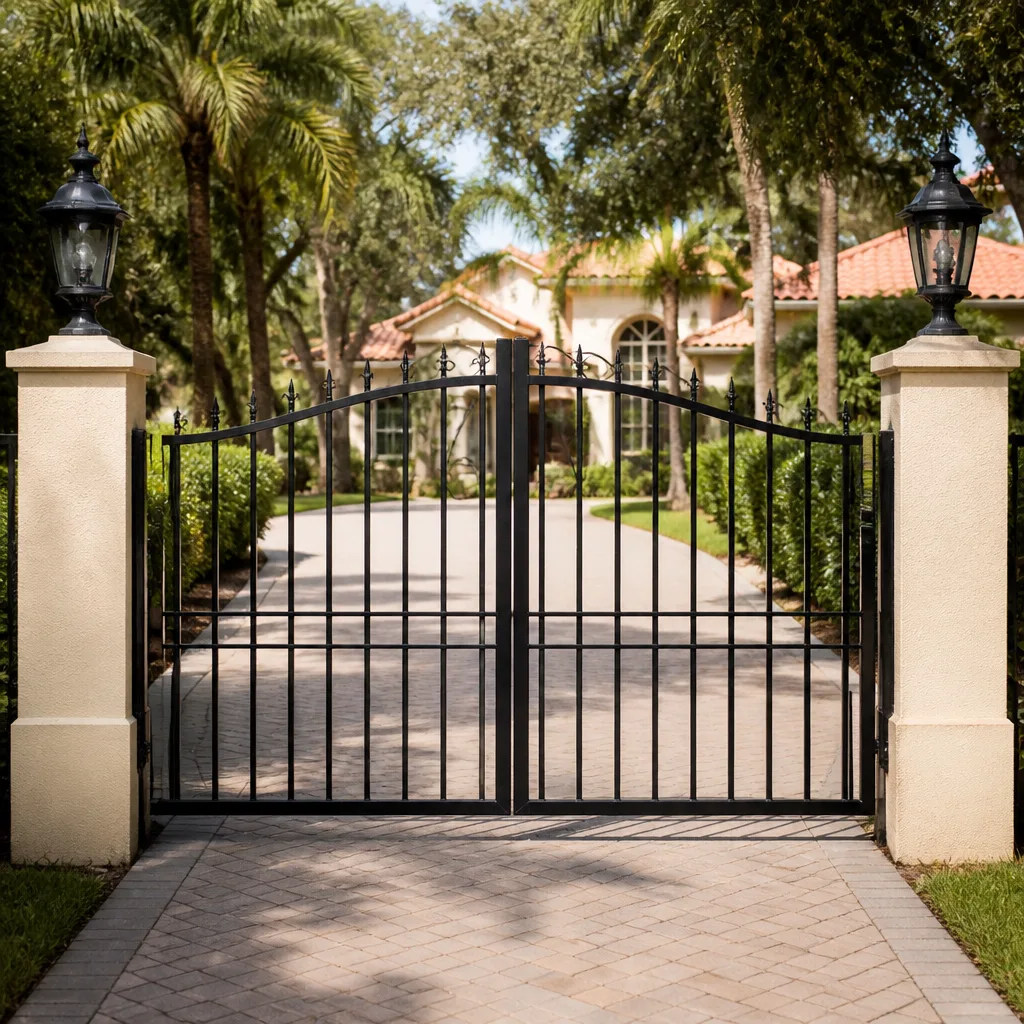 Wrought iron
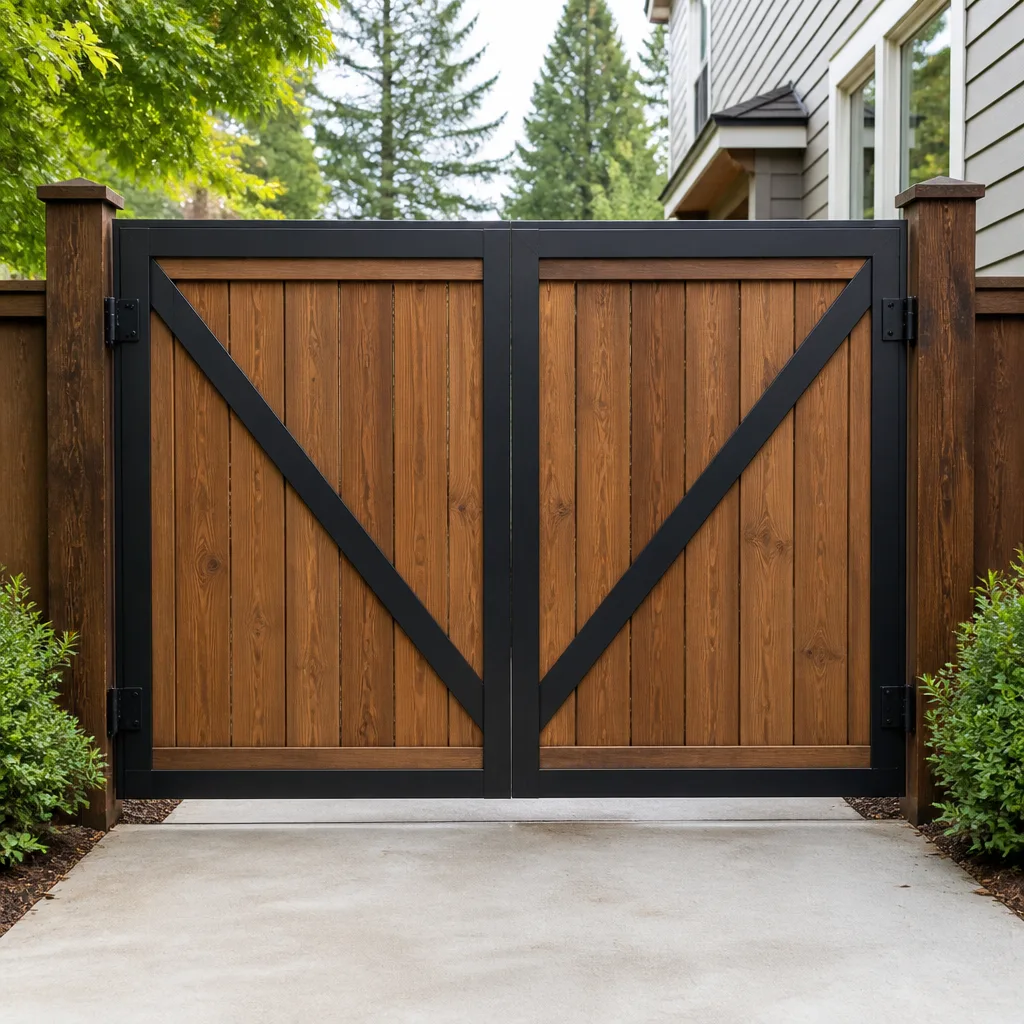 Wood & steel frame
 Farm & ranch
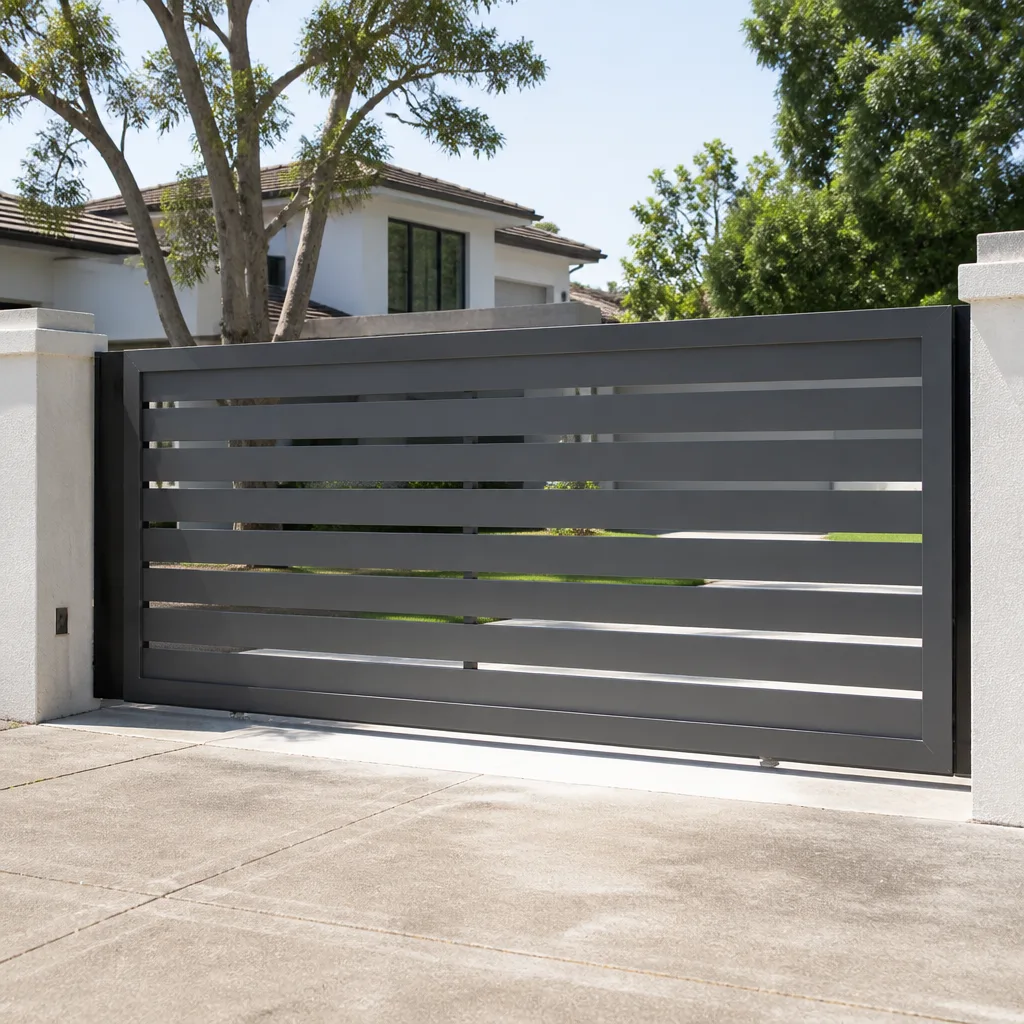 Sliding driveway gates
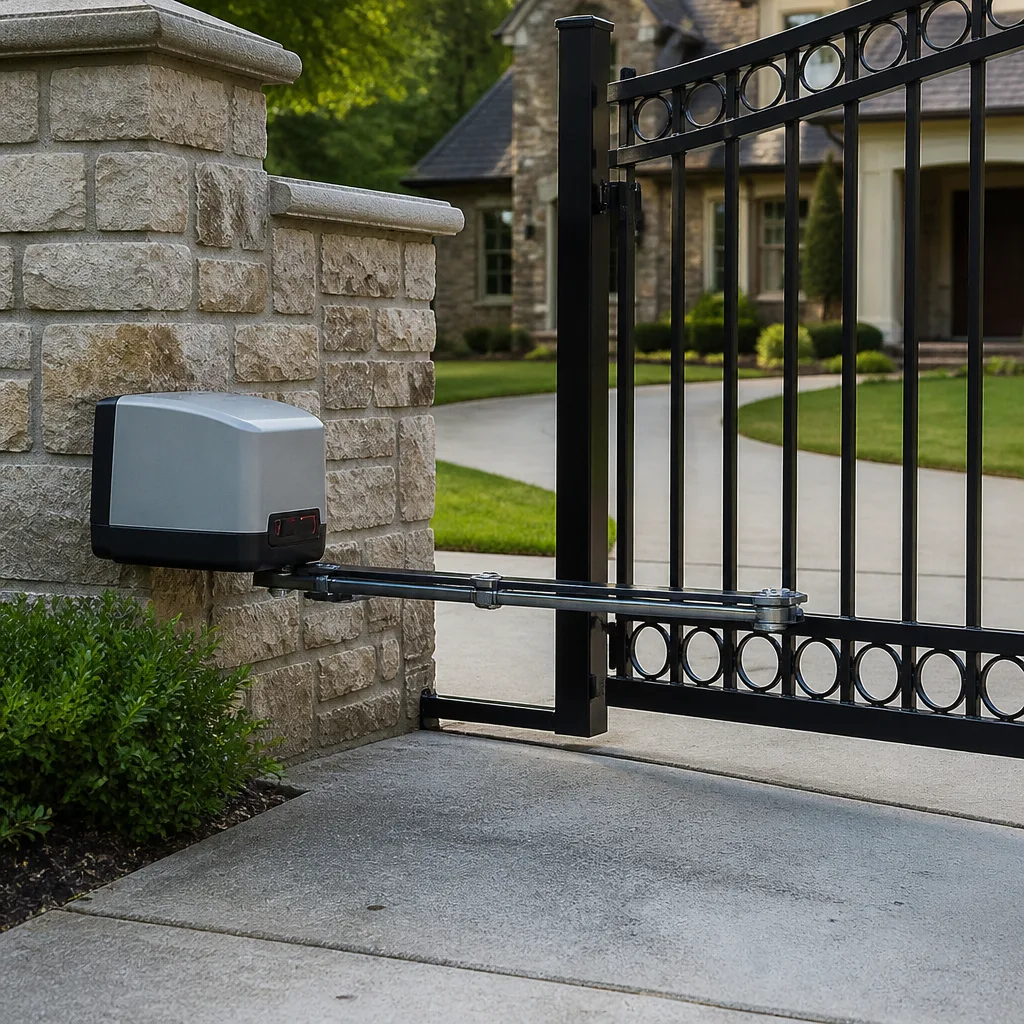 LiftMaster operators
Free on-site gate assessment - hinges, posts, and your LiftMaster or Nice gate operator checked before anything is quoted
The assessment is free and the quote is the invoice.
Get your free estimateDIY vs Professional Gate Repair: The Richmond Homeowner’s Decision Guide
Replacing a gate latch yourself is a Saturday afternoon project. Adjusting the force settings on an automatic operator yourself could leave your gate legally non-compliant under UL 325, and if someone is injured at that gate, the difference between those two jobs matters enormously. Here’s the honest line: some gate work is genuinely DIY-safe, and some work looks DIY-safe but carries real safety and legal exposure. In this guide we’ll separate the two clearly. You’ll learn which tasks you can handle with basic tools, which ones demand a trained eye, how the cost math actually works out, and how to describe a problem to a gate professional in Richmond if you’ve already taken a swing at it.
Styles & brands we work with
- Wrought iron
- Wood & steel frame
- Farm & ranch
- Sliding driveway gates
- LiftMaster operators
Quick Answer
On a manual gate, most hardware-level fixes (latches, hinge pins, rust spots, remote batteries on simple operators) are genuinely DIY-safe. On an automatic gate, anything that affects the operator’s force settings, obstruction sensing, limit switches, or control board should go to a professional, because those components are governed by UL 325 safety standards and a mistake there can leave the gate unsafe and non-compliant. If your gate won’t open, won’t close, or reverses unpredictably, that’s a specialist call.
Table of Contents
- What Gate Repairs Are Genuinely DIY-Safe?
- Which Repairs Look DIY-Simple but Carry Hidden Risk?
- What Is UL 325 and Why Does It Matter for Your Gate?
- The Real Cost Math: When DIY Saves and When It Costs More
- How to Describe a Gate Problem to a Professional
- Manual Gate vs Automatic Gate: Different Decision Lines
- What Richmond Conditions Do to Your Gate
- Common Mistakes to Avoid
- When to Call a Professional
- Frequently Asked Questions
- The Bottom Line
What Gate Repairs Are Genuinely DIY-Safe?
The short answer: simple mechanical hardware on a gate that isn’t wired to an operator. That’s the zone where a homeowner with basic tools and patience can save a callout fee without touching anything that carries safety risk.
These tasks are reasonably safe for a homeowner to handle:
- Latch replacement. Swapping a worn or failing latch is a screwdriver-and-wrench job. Match the style, keep the gate aligned, test the swing.
- Hinge pin lubrication. A sagging gate often just needs graphite or a dry lubricant on the pins. This temporarily relieves binding and keeps the gate tracking properly.
- Remote control battery replacement. On most operators, including Linear and Viking units, a dead remote is just a dead battery. Pop the case, swap it, re-test.
- Vegetation clearance. Trimming overgrowth back from the swing path or slide track prevents false obstructions and keeps the gate running smoothly. It’s the cheapest preventive step you can take.
- Minor rust treatment. Spot-sanding surface rust and applying rust-inhibiting paint extends the life of a steel gate. This is cosmetic and structural upkeep, not a fix for compromised metal.
Notice what all of these have in common: none of them touch the operator’s electrical or safety systems. That’s the dividing line. If a repair involves wiring, force settings, or sensors, put the tools down and read the next section.
If you’d like a professional opinion before you pick up a wrench, our gate repair team works on these problems every day and can tell you in a phone call whether your job is a DIY candidate.
Which Repairs Look DIY-Simple but Carry Hidden Risk?
The answer here is direct: limit switch adjustment, obstruction sensor alignment, and control board replacement all look like straightforward hardware swaps, but each requires specific knowledge to get right and each has a real chance of leaving your gate unsafe if it goes wrong.
Here’s why each one is riskier than it looks:
- Limit switch adjustment. The limit switches tell the operator where to stop the gate travel. Move them a few degrees too far and the gate hits its physical stop, strips gears, or strains the motor. Move them short and the gate stops mid-travel and eventually faults. Getting these right requires understanding how the specific operator resolves travel, and every brand handles it differently. A BFT unit and a Ghost Controls unit are not adjusted the same way.
- Obstruction sensor alignment. Photo-eye sensors on an automatic gate are the primary safety layer that tells the operator a person, pet, or vehicle is in the path. A sensor nudged out of alignment can fail closed (gate stops working) or fail open (gate closes on an obstruction). The second failure is the dangerous one, and it’s the one homeowners most often create when they “straighten” a sensor themselves.
- Control board replacement. Boards fail from surges, water intrusion, and age. Replacing one correctly requires matching the board to the operator, setting the correct logic for the gate’s configuration, and walking the system through a full safety set-up afterward. A board installed and not properly set up can run the gate in a mode that bypasses the safety sensing entirely.
In our experience, most of the “I tried this myself and now it’s worse” calls we take in Richmond trace back to one of these three jobs. The gate isn’t broken worse than before, it’s just been put into a state the operator’s logic can’t resolve without a specialist resetting it properly.
What Is UL 325 and Why Does It Matter for Your Gate?
UL 325 is the safety standard for automatic gate and door operators in the United States. Any work that affects the safety sensing or force settings of an automatic gate operator has compliance implications, regardless of who does the work, and that’s the single most important thing a DIY-minded homeowner can understand about automatic gates.
Here’s what that means practically:
- The standard governs the operator, not the gate. The physical gate panel is a structure. The operator and its safety accessories are governed by UL 325, and that’s where compliance lives.
- Force settings are a safety feature. Automatic operators are set to stop and reverse when they meet resistance. Loosening that setting to push through a stiffer gate is exactly the wrong direction, because it increases the closed or open force a person or pet could be exposed to.
- Safety accessories must be present and correct. Photo eyes, loops, edges, and instructional placards are safety accessories, not upgrades. Removing one because it was “acting up” removes a protection layer.
- Compliance travels with the property. If your gate is later sold with the home or used by a tenant, the operator still needs to meet the standard it was installed under or updated to.
We’re not raising this to scare anyone into a callout. We’re raising it because a homeowner who understands UL 325 makes better decisions about the automatic gate on their property, and that’s what this guide is for. If safety sensing is involved, that work belongs with a trained professional who understands the standard.
The Real Cost Math: When DIY Saves and When It Costs More
The honest answer: DIY saves money when the task is simple hardware with a documented process, and it costs more when you misdiagnose a problem, order the wrong parts, and end up calling a professional anyway.
Let’s break down both sides:
When DIY genuinely saves you money:
- The fix is hardware-only (latch, hinge pin, battery) and you already own the tools.
- There’s a clear documented process for that exact fix on that exact operator.
- The gate is manual, and the fix doesn’t touch anything structural.
- You can see the problem and you understand the mechanism.
When DIY actually costs more:
- Misdiagnosis. You replace the control board when the real problem was a failed limit switch, or you replace the limit switch when the real problem was a loose wire at the operator terminal. Wrong part, wrong fix, same symptom.
- Wrong parts ordered. Gate operators use brand-specific hardware, and a Linear board is not interchangeable with a Viking board. Ordering wrong then reordering burns more than the original repair would have cost.
- Reversal. You fix the symptom, the underlying fault stays, and the gate fails again a week later. Now it’s two problems instead of one, and the second visit costs more than the first would have.
- Safety aftermath. A mis-configured safety sensor is not a line item you’ll find on a receipt, but it’s the longest-tail cost of a DIY attempt on an automatic operator.
We don’t publish flat prices because the same symptom on two different gates can require completely different work. What we can promise is this: we diagnose first, quote the fix as a written estimate, and you agree to the price before any work starts. That’s it. No surprise invoice at the end. If you’ve already tried a repair, tell us what you did and we can usually shorten the diagnostic path.
How to Describe a Gate Problem to a Professional
If you’ve already attempted a repair and the gate still doesn’t work, the most useful thing you can do is volunteer what you removed, adjusted, or replaced, and what the gate does now. That’s what actually helps diagnosis. What doesn’t help is starting with “it’s broken” and stopping there.
Use this checklist when you call or book online:
- Identify the operator brand. LiftMaster, FAAC, BFT, Linear, Viking, Ghost Controls, DoorKing, Elite, and Mighty Mule are the brands we see most often. The brand name is usually molded onto the operator housing or printed on a label inside the cover.
- Describe the symptom precisely. “Won’t open” is different from “opens halfway and stops” and different again from “opens then reverses immediately.” Note whether the symptom is consistent or intermittent.
- State when it started. After a storm, after a board replacement, after a sensor was bumped, on a cold morning – the trigger often points straight at the cause.
- Disclose what you touched. If you moved a limit switch, replaced a board, or adjusted a sensor, say so. This is the single most useful piece of information you can give a technician, and we’ve never once judged a homeowner for attempting a fix.
- Note any error codes or LED patterns. Many operators flash a diagnostic code at the control board. A short video of the gate in operation plus a photo of the board can save a return trip.
That’s it. With those five things, we can usually arrive familiar with the system and start diagnosing rather than looking up the brand. Our technicians have up to 12 years of experience, and much of that time has gone into recognizing these patterns on electric gate repair calls.
Manual Gate vs Automatic Gate: Different Decision Lines
A manual gate and an automatic gate have completely different rules for what’s DIY-safe. On a manual gate, you’re dealing with a hinge, a latch, and the physical panel. On an automatic gate, you’re dealing with those things plus an electrical system, a motor, a controller, and safety sensing that has to work every single time.
On a manual gate, DIY is reasonable for:
- Latch swaps and hinge pin lubrication
- Sagging gate adjustment (tighten hinges, rehang on the post)
- Surface rust treatment and repainting
- Vegetation trimming and track clearing on manual slide gates
On an automatic gate, DIY is reasonable for:
- Remote battery swaps
- Code changes on keypads and intercom entry codes
- Basic visual inspection (checking photo eye lights, checking the placard is present)
- Clearing obstruction and vegetation outside the operator housing
On an automatic gate, hand these to a specialist:
- Anything inside the operator housing
- Any adjustment to force, travel, or sensing
- Control board replacement or wiring
- Motor replacement or gearbox work
- Loop detector issues, intercom integration, or access control
That line exists because automatic gate work is genuinely more specialized, not because we’re drumming up business. A general handyman or a fence contractor without operator training often can’t diagnose a control board problem or a loop detector failure, and the Richmond homeowners we hear from often found that out the hard way. A dedicated gate specialist who works across multiple brands tends to recognize the failure faster.
What Richmond Conditions Do to Your Gate
Richmond’s climate has a real effect on how gate hardware ages and fails, and it’s worth knowing so you can inspect the right things at the right time of year.
- Humidity and moisture. Richmond’s summers run humid, and that accelerates rust on steel hardware, swells wood gates slightly, and drives moisture into operator housings. Latches, hinge pins, and the operator enclosure are the vulnerable points, so inspect them before the summer season.
- Winter freeze-thaw. While Richmond winters are mild by national standards, freeze-thaw cycles still stress concrete footings and post anchors. A gate that “leans” after a cold snap usually has a footing issue rather than a hinge issue.
- Summer heat and operator thermals. Operators run hotter in a Richmond July, and a board that’s marginal on thermal tolerance will start faulting in the heat. If your gate fails only on hot afternoons, the operator’s thermal protection is likely kicking in.
- Storm debris and vegetation. Richmond’s tree cover drops limbs and loads slide tracks and swing paths with debris. A quick inspect-and-clear after any big storm prevents a large share of the “gate won’t move” calls we take.
- Neighborhood footing considerations. Older and newer Richmond neighborhoods have very different soil and drainage, and a post that was set properly in one may need reworking in another. Ask about footing depth before you blame the hinge.
None of this means every gate needs professional care every season. It means the seasonal failure modes here are predictable, and inspecting the right hardware ahead of each one is what keeps a gate working. A senior living in the Fan will have different hardware wear than a newer build in Short Pump, and both benefit from knowing what season drives what failure.
Common Mistakes to Avoid
- Adjusting force settings to “make the gate close.” Increasing force to push through a stiff gate masks a mechanical problem and increases safety risk. Find and fix the resistance, don’t overpower it.
- Removing or bypassing a photo eye because it “kept tripping.” That sensor is a UL 325 safety protection, not a nuisance. A tripping sensor means the obstruction is real, the sensor is misaligned, or the sensor has failed – diagnose it, don’t disconnect it.
- Ordering a control board without confirming the diagnosis. The most expensive DIY mistake we see is a board swap when the fault was a limit switch or a terminal. Confirm the diagnosis before you order parts.
- Mixing brands on replacement hardware. A Linear operator needs Linear-compatible parts. A part that “fits” may not read correctly on the board, and that leads to a repair that fails a week later.
- Ignoring a sagging gate until it binds. A sagging gate strains the operator’s gearbox on every cycle. Adjusting the hinge before it binds is a cheap job; a gearbox replacement is not.
- Patching operator housing without looking for moisture. A wet board will keep failing after every Richmond rainstorm until the water intrusion problem is fixed. The board isn’t the root cause.
- Trying to fix an intermittently failing gate without noting the conditions. Intermittent faults usually have a trigger – heat, cold, a specific time of day, or a specific gate position. Note the pattern, or it will look fine when the technician arrives.
When to Call a Professional
Call a gate specialist when the work touches an automatic operator’s safety sensing, force settings, control board, motor, or wiring; when symptoms are intermittent and hard to reproduce; when a DIY attempt didn’t fix the underlying fault; when a gate is showing structural strain after a storm; or when a photo eye keeps tripping and you’re not sure why. Call before you order parts if you’re not certain of the diagnosis. Our electric gate repair and gate repair teams work on all nine major brands and know where each system tends to fail. Richmond Gate Repair offers free estimates in Richmond – call (866) 942-6565. We answer 24/7. Fast dispatch from 7am to 7pm, Sunday through Friday. Richmond homeowners who want to see how we work can start at Richmond Gate Repair.
Frequently Asked Questions
We don’t recommend it. Force settings are a UL 325 safety feature, and loosening them to push through resistance increases the risk of injury and leaves the operator non-compliant. If your gate needs force adjustment, the underlying problem is usually mechanical resistance that a specialist should diagnose first. Call (866) 942-6565 for a free estimate – we’ll look at the gate and quote the fix before any work starts.
No. The photo eye is a primary safety protection on an automatic gate, and disconnecting it removes a protection layer that UL 325 requires. A tripping sensor almost always means it’s misaligned, dirty, or failed – all fixable, and all worth diagnosing rather than bypassing. Call (866) 942-6565 for an exact quote on realigning or replacing the sensor.
Yes. A DIY attempt that doesn’t resolve the fault usually means the original symptom was caused by something deeper, and a specialist can usually diagnose it faster than you can re-attempt it. Tell the technician exactly what you adjusted or replaced, and they’ll start from there. Call (866) 942-6565 for a free estimate on the diagnosis.
No. Control board replacement requires matching the board to the operator, setting the correct logic for your gate’s configuration, and walking the system through a full safety set-up afterward. A board installed but not properly set up can run the gate in a mode that bypasses the safety sensing entirely. Call (866) 942-6565 for a quote.
We work on nine major gate and operator brands: LiftMaster, FAAC, BFT, Linear, Viking, Ghost Controls, DoorKing, Elite, and Mighty Mule. That covers virtually every system a Richmond homeowner is likely to have. If the brand isn’t on that list, call and we’ll tell you honestly whether we can service it. Call (866) 942-6565 – estimates are free.
Most straightforward repairs can be completed in a single visit once the diagnosis is confirmed. Complex diagnostics on control boards, loop detectors, or intercom integrations can take longer, and the written estimate will tell you what to expect before any work begins. Call (866) 942-6565 to book. We answer 24/7. Fast dispatch from 7am to 7pm, Sunday through Friday. You can also see our Richmond page for the areas we serve.
The Bottom Line
DIY gate repair makes sense when the work is simple hardware with a documented process, and it stops making sense the moment the job touches an automatic operator’s safety sensing, force settings, control board, motor, or wiring. UL 325 is the reason that line exists, not a sales tactic. If you understand the line, you’ll make good decisions about the gate on your property. If you’re not sure which side your job falls on, describe it to a gate specialist – the diagnosis is quick, the estimate is free, and you’ll know the answer before you spend a dollar or pick up a tool.
If your gate won’t open, won’t close, or was never installed quite right, call (866) 942-6565. We answer 24/7. Fast dispatch from 7am to 7pm, Sunday through Friday. Estimates are free, the price is quoted and agreed before any work starts, and we work on LiftMaster, FAAC, BFT, Linear, Viking, Ghost Controls, DoorKing, Elite, and Mighty Mule systems every day.
Written by the team at Richmond Gate Repair.
See the difference
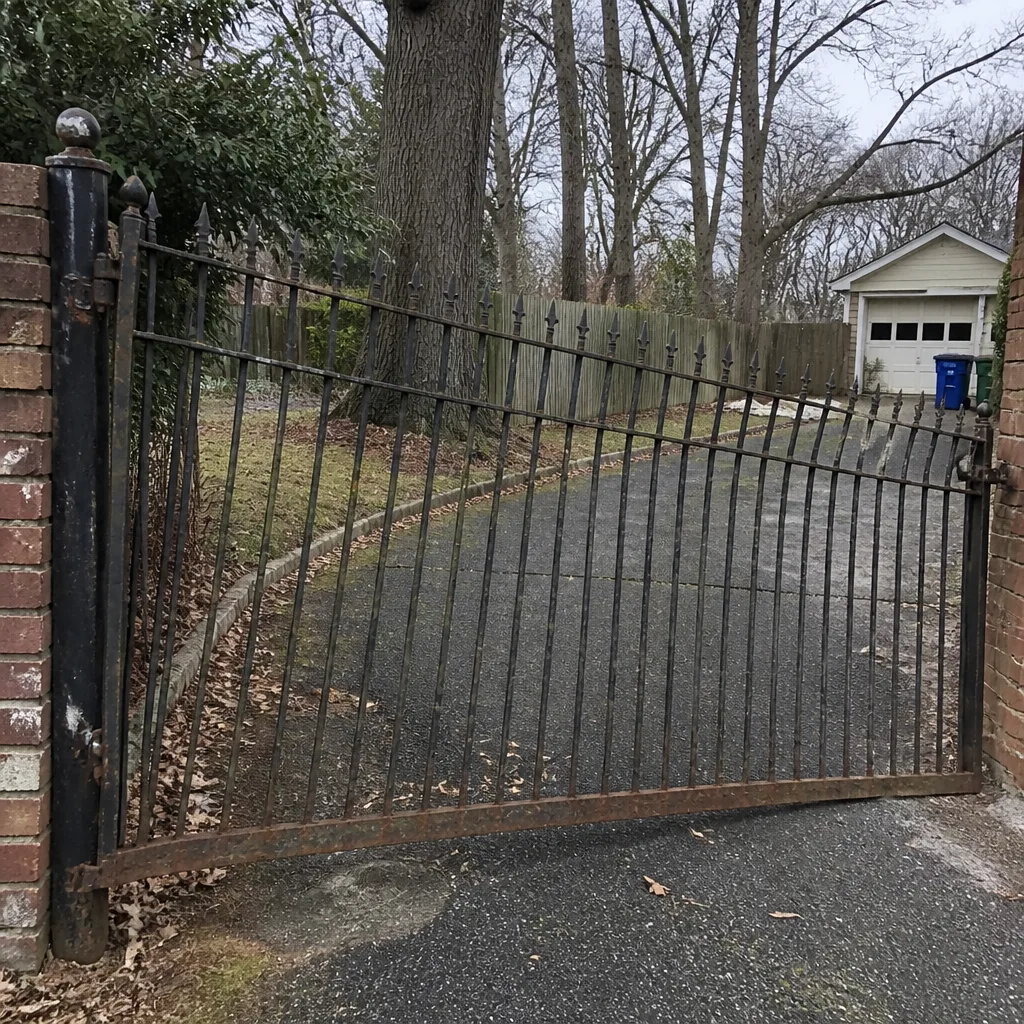 Before
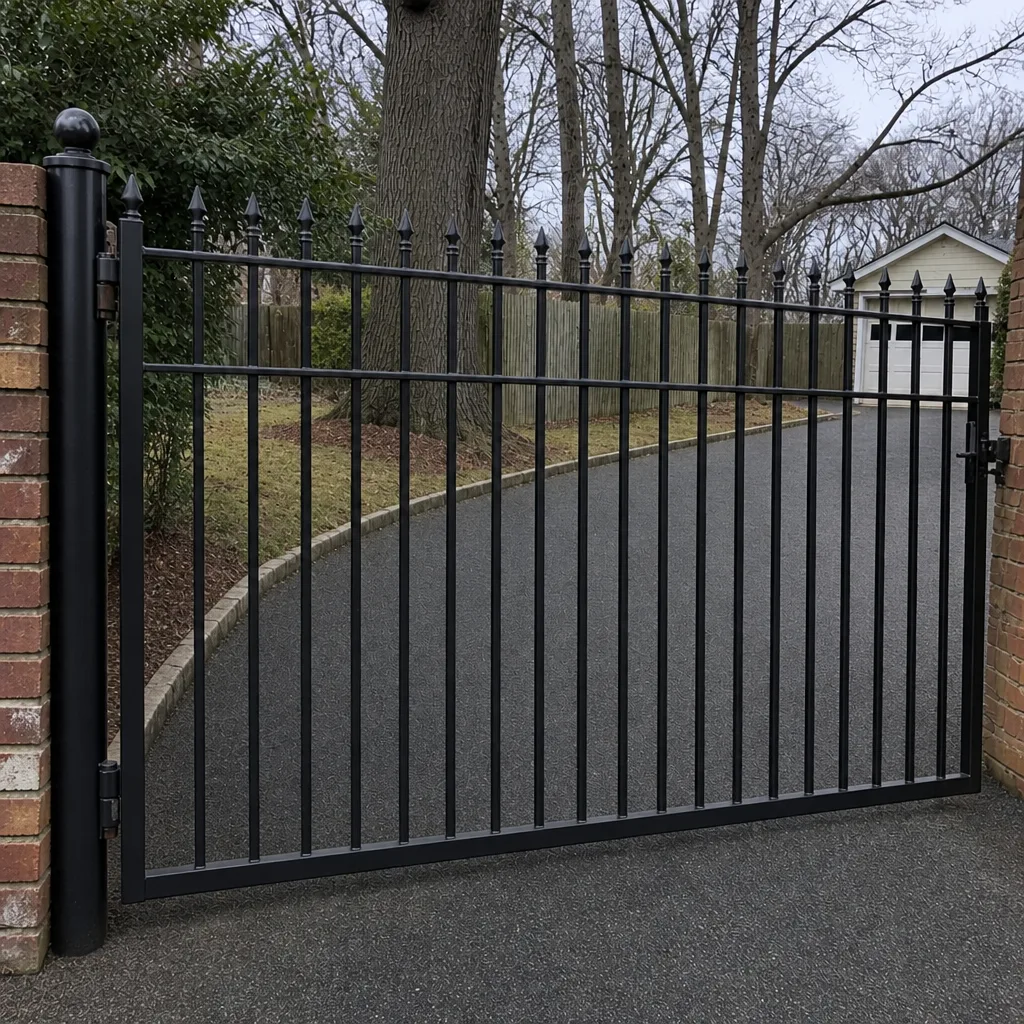 After
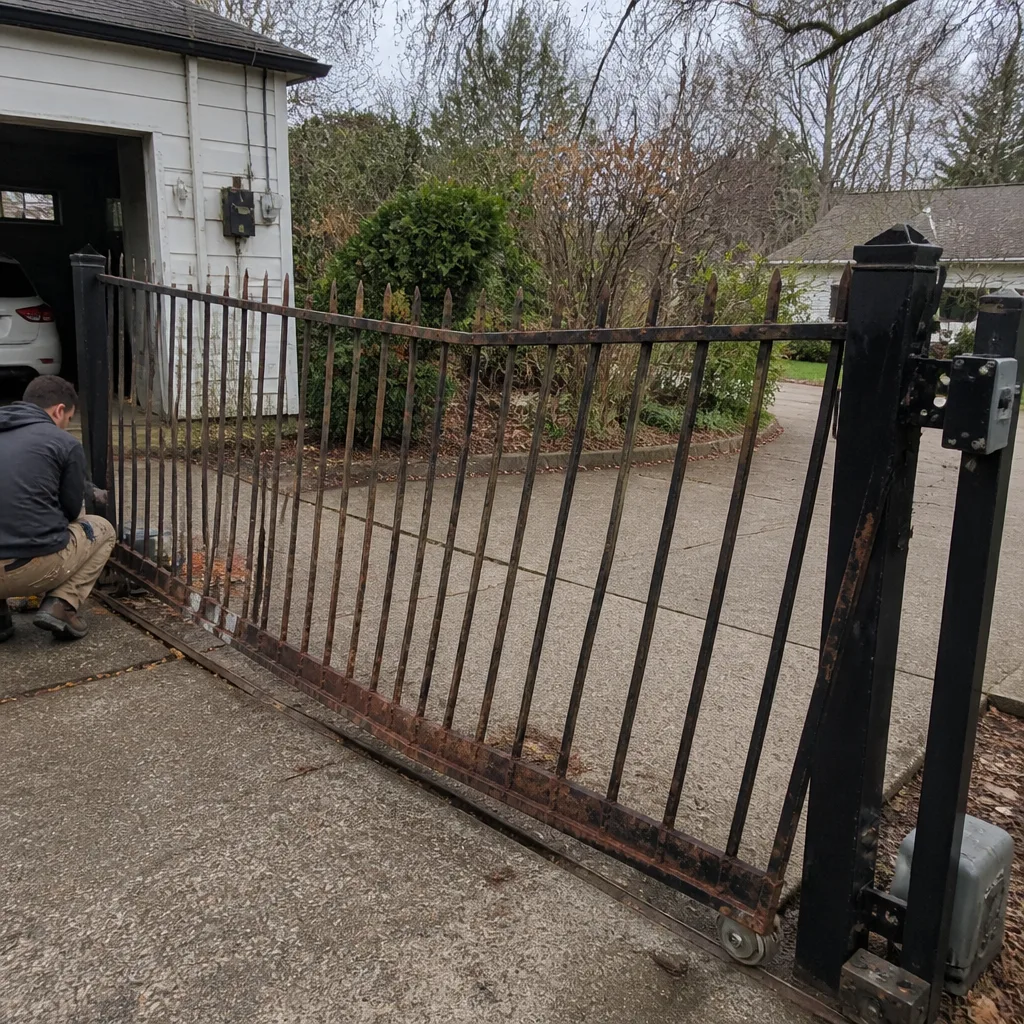 Before
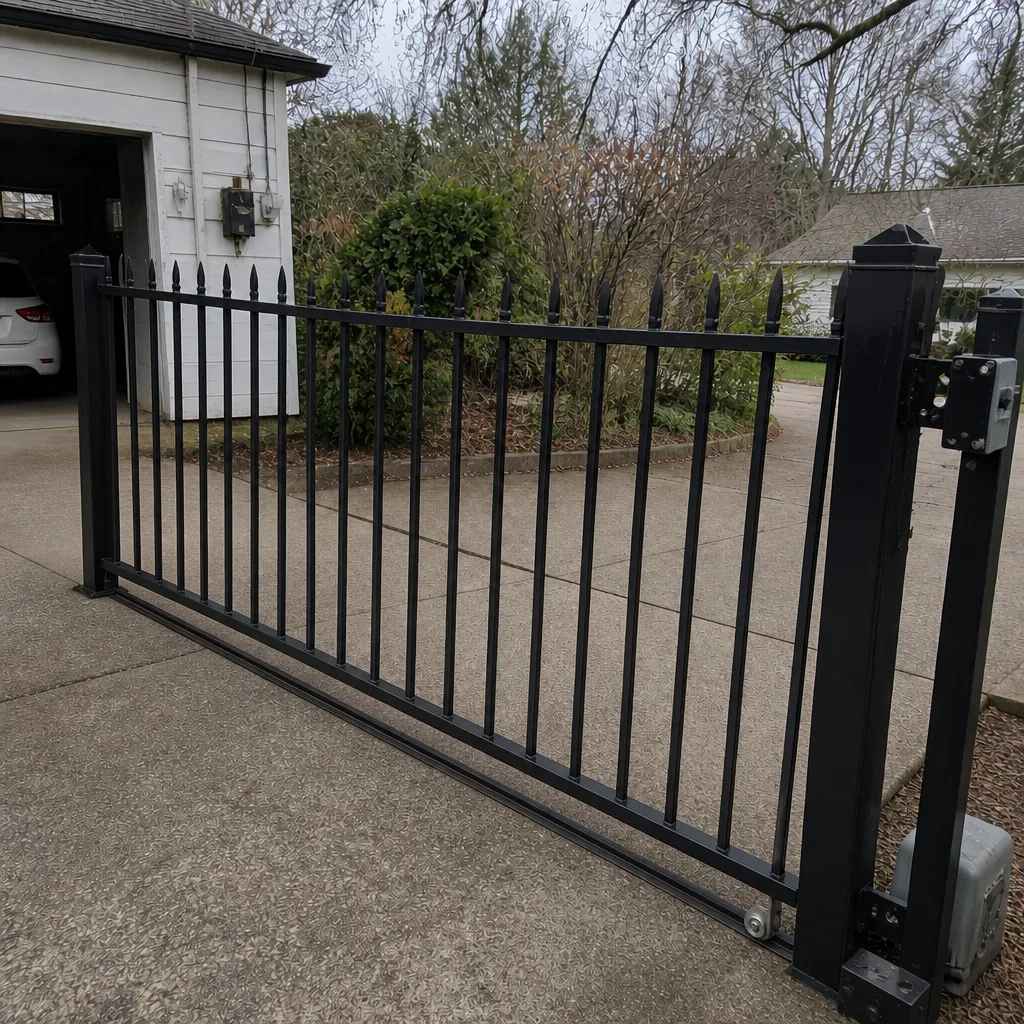 After
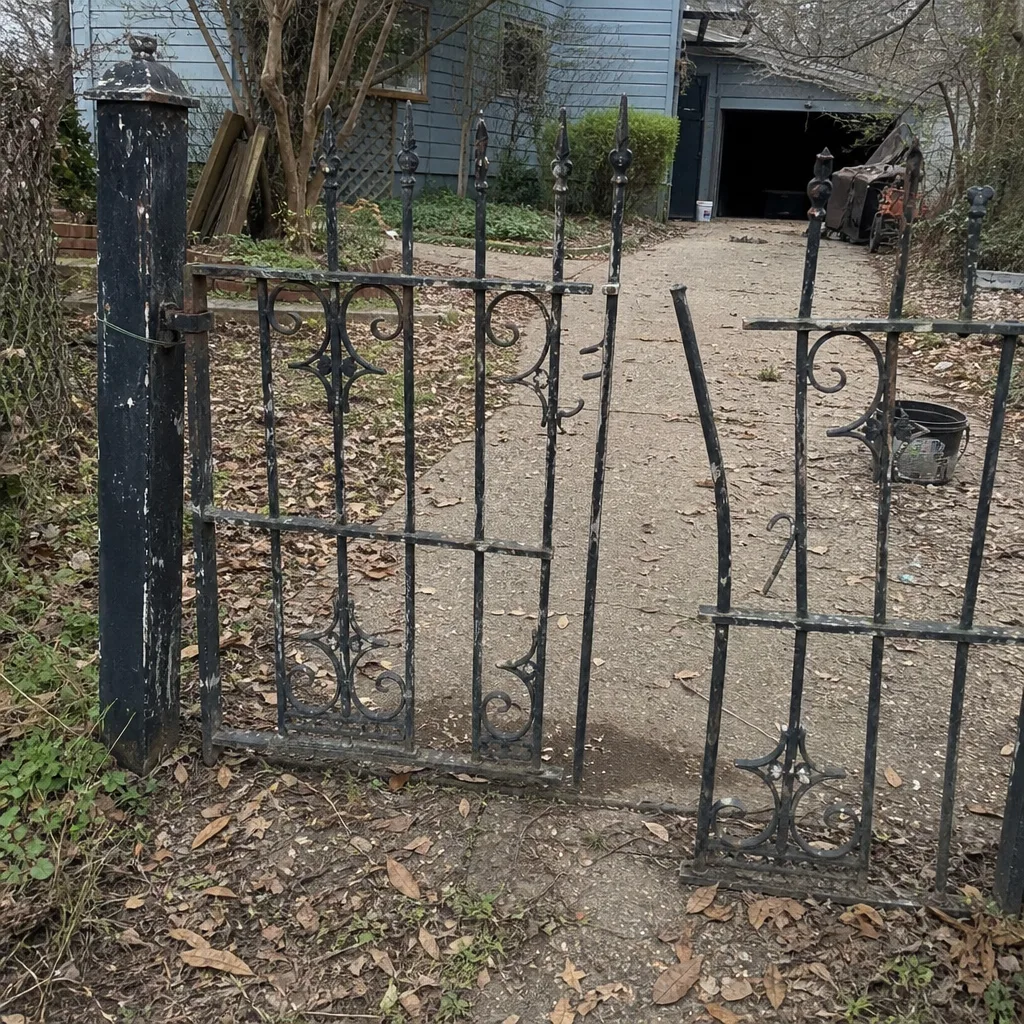 Before
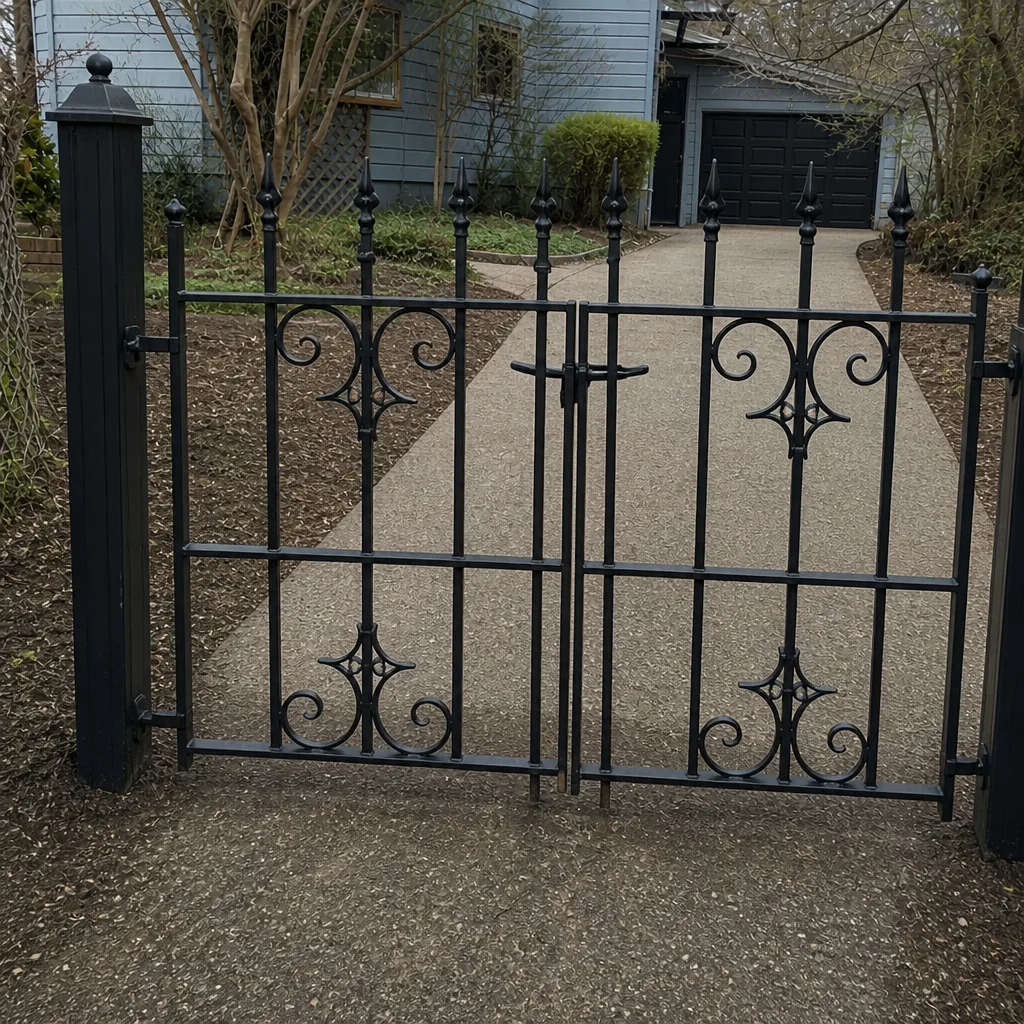 After