
Last updated November 16, 2026
 Wrought iron
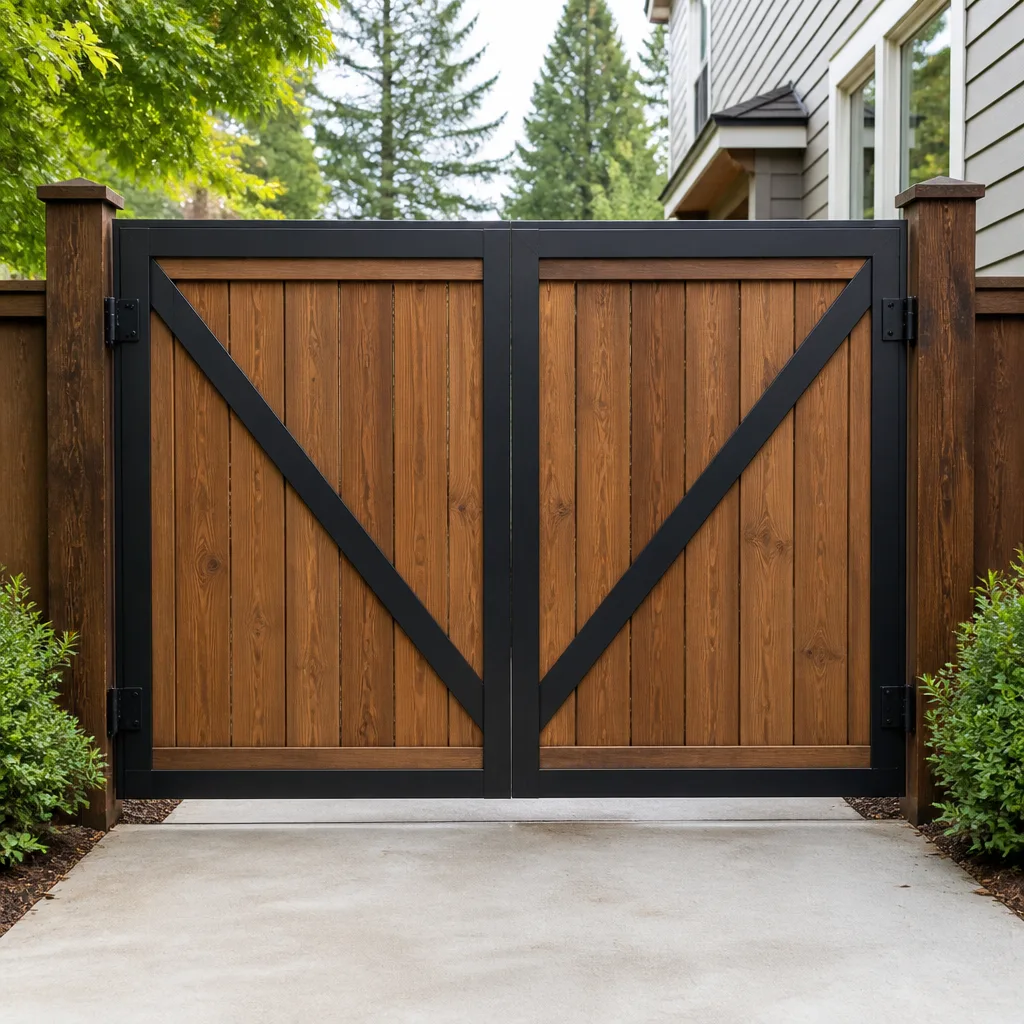 Wood & steel frame
 Farm & ranch
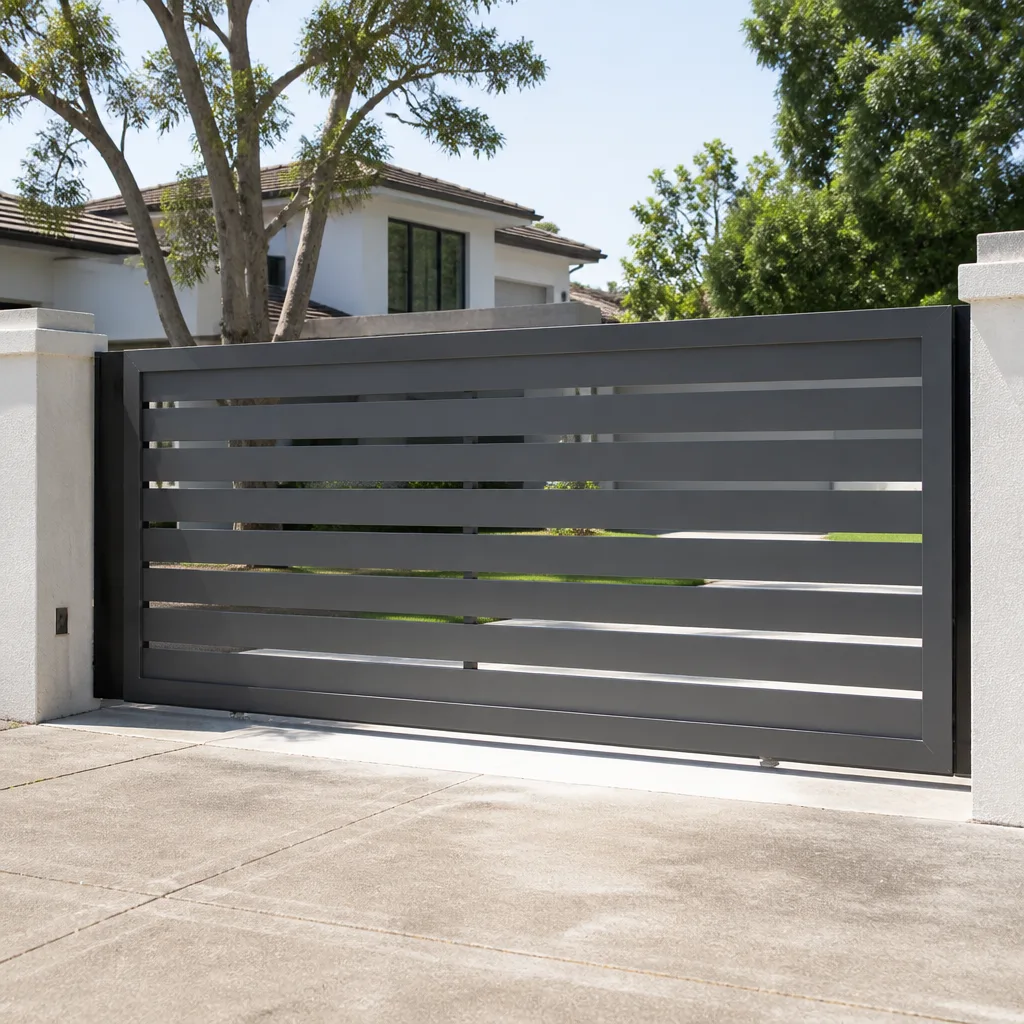 Sliding driveway gates
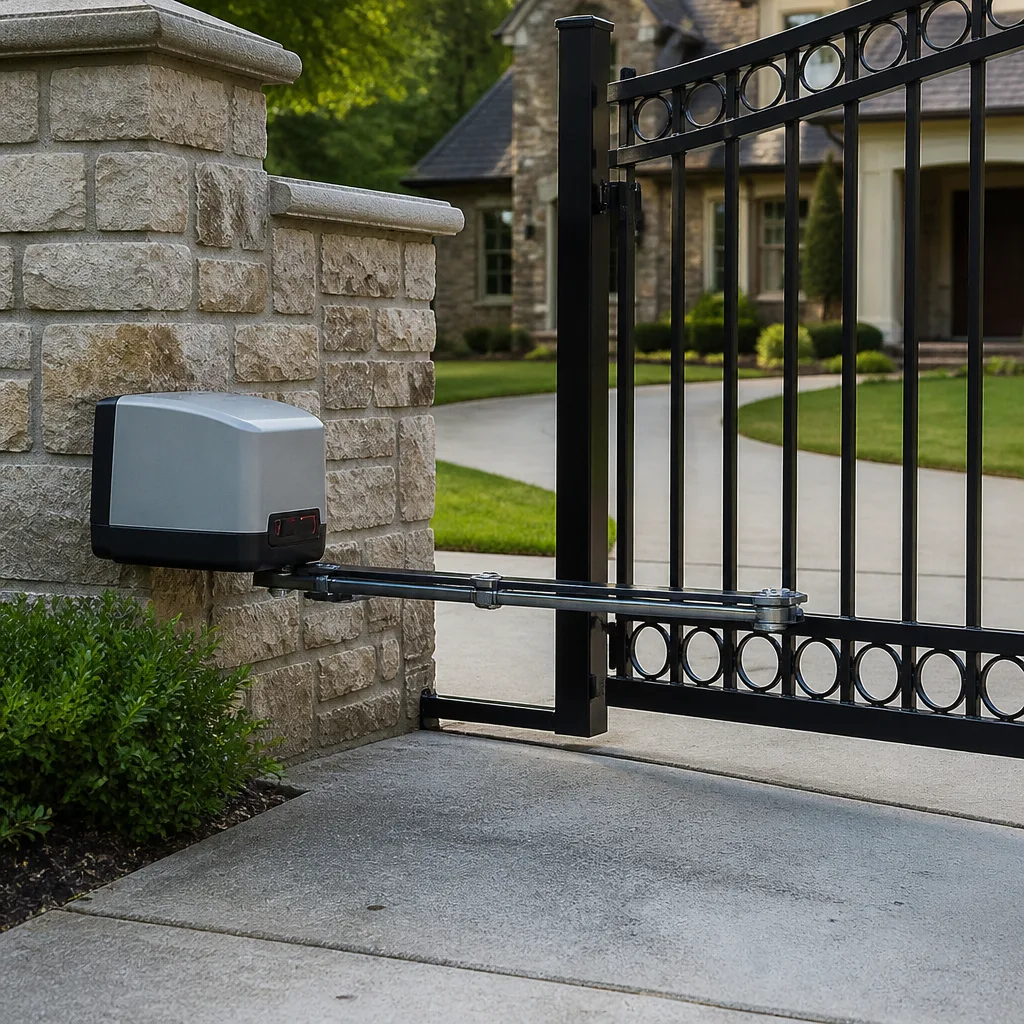 LiftMaster operators
Free on-site gate assessment - hinges, posts, and your LiftMaster or Nice gate operator checked before anything is quoted
The assessment is free and the quote is the invoice.
Get your free estimateGate Repair Maintenance Checklist for Richmond Homeowners
Most gate maintenance advice you’ll find online was written for a climate that isn’t yours. It talks about “periodic lubrication” and “regular inspection” without ever naming a schedule, because a generic guide can’t know what your gate is up against. Richmond is a specific place to own a gate. The area takes more than 44 inches of rain in a typical year, and it sits in one of the highest airborne pollen zones on the East Coast. Those two facts alone speed up corrosion and foul sensors faster than any national checklist accounts for.
This guide fixes that. It’s a task-by-task maintenance checklist built around Richmond’s rain, pollen, and freeze-thaw cycle, organized by what you do monthly, seasonally, and yearly. You’ll learn which parts get grease, which get dry lubricant, which should never be touched with either, and the one cheap test that catches a shifting gate before it burns out the operator.
Quick Answer
A gate maintenance checklist for Richmond should cover four things on a schedule: monthly sensor cleaning (heaviest during the March to May pollen peak), seasonal lubrication matched to each component, post and hinge inspection before and after the November to March freeze-thaw cycle, and a battery backup check ahead of summer storm season. Add a plumb-and-level check with a $10 torpedo level once or twice a year to catch soil shift early. Done consistently, this routine prevents most of the failures that bring gates to a stop.
Styles & brands we work with
- Wrought iron
- Wood & steel frame
- Farm & ranch
- Sliding driveway gates
- LiftMaster operators
Table of Contents
- The Monthly Sensor Wipe-Down: Richmond’s Pollen Problem
- Lubrication by Component: What Gets Grease, What Gets Dry, What Gets Nothing
- Post and Hinge Inspection Through Richmond’s Freeze-Thaw Cycle
- Battery Backup Checks Before Summer Storm Season
- The Plumb-and-Level Test That Saves Your Operator
- A Season-by-Season Maintenance Calendar for Richmond
- Manual Gate Checks Most Homeowners Skip
- Keeping a Gate Log (and Why It Pays Off)
The Monthly Sensor Wipe-Down: Richmond’s Pollen Problem
More “gate won’t open” calls trace back to a dirty photo eye than to any mechanical failure. That’s the safety sensor pair mounted on your posts, one sending an infrared beam and one receiving it. When the beam is blocked or the lens is filmed over, the operator reads a phantom obstacle and refuses to close, or refuses to move at all. In Richmond, pollen coats those lenses from early spring onward, and the March to May peak is when we see the most sensor-related no-open calls of the year.
Here’s the monthly routine:
- Power the operator down at the control box before you touch anything on the gate itself.
- Wipe both sensor lenses with a soft, dry microfiber cloth. No glass cleaner, no solvent, no paper towel; paper scratches the plastic lens.
- Check that the lenses face each other squarely and nothing (a stray branch, a leaning trash can) sits in the beam path.
- Wipe the reflector or receiver window on the far side the same way.
- Power back up and run the gate through one full open and close cycle to confirm the sensors read clear.
During the pollen peak, do this every two weeks. Outside peak season, monthly is enough. If your gate sits under pines or oaks, expect more frequent buildup. DoorKing and Linear operators both rely on the same photo-eye logic, so the cleaning method is identical regardless of brand. A sensor that’s clean, aligned, and unobstructed eliminates the single most common reason a gate stops responding.
Lubrication by Component: What Gets Grease, What Gets Dry, What Gets Nothing
Over-lubrication ruins as many gates as neglect. The instinct is to spray everything that moves, but the wrong product in the wrong place attracts grit, gums up in cold weather, and turns a smooth hinge into a grinding one. The right approach matches the lubricant to the component.
What gets grease or oil
- Hinge pins and bushings: a few drops of light machine oil or a lithium grease, worked in by opening and closing the gate. Apply seasonally and after heavy rain.
- Latch and striker mechanisms: a small amount of lithium grease on the moving contact surfaces. Wipe off excess.
- Chain drive (on chain operators): a purpose-made chain lubricant, applied thinly. Never coat a chain in heavy grease; it collects grit and accelerates wear.
What gets dry lubricant
- Roller and track surfaces on slide gates: a dry silicone or PTFE spray. Dry lubricants don’t hold dust, which matters in a pollen-heavy climate.
- Operator arm pivots on swing gates: a light dry-film spray on the pivot points.
What should never be lubricated
- Photo-eye lenses and reflectors: keep these dry and clean only. Lubricant films them and blocks the beam.
- Motor gearboxes: sealed units from the factory. Adding lubricant can void the seal and let moisture in.
- Control boards and wiring terminals: never. Keep them dry and dust-free.
- Battery terminals: leave them alone unless corrosion is present, then clean and apply a proper terminal protectant only.
Brand matters at the margins. Viking operators tend to have mechanical components that benefit from a slightly heavier grease on the drive mechanism, while LiftMaster units often call for lighter, more frequent oiling on the arm pivots and drier product on the tracks. Our technicians have up to 12 years of experience with these systems, and the pattern holds: match the lube to the part, and less is usually more.
Post and Hinge Inspection Through Richmond’s Freeze-Thaw Cycle
Richmond’s freeze-thaw window, typically November through March, is when frost heave does its quiet damage. Water seeps into the soil around your gate posts, freezes, expands, and then thaws. Repeat that cycle and posts shift slightly, concrete footings crack, and hinges work loose. A gate that was perfectly aligned in October can be dragging by February. This is why we recommend a post and hinge inspection on both ends of the cold season: once in late fall before the ground freezes, and once in early spring as it thaws.
What to check each time:
- Post movement: grab each post and push firmly. Any wobble beyond the slightest flex means the footing is loosening. A gate hanging off a shifting post will eventually stress the operator arm and hinge welds.
- Hinge tightness: check every bolt and screw. Loose hinge hardware lets the gate sag, which throws off alignment and puts drag on the operator.
- Visible footing cracks: cracked or crumbling concrete around post bases is a sign frost heave is working. Don’t ignore it; small footing issues become gate-wide problems.
- Gate swing freedom: with the operator disconnected, the gate should swing open and closed by hand with light effort. If it drags, something has shifted.
- Weld and weld-point inspection: look for hairline cracks at hinge plates and reinforcement points, especially on older steel gates.
Address hinge and post issues early. A tightened bolt is cheap; a gate that pulls its post out of line is a repair, and possibly a footing replacement. If a post has clearly moved, that’s a job for a specialist who can re-set and re-align the gate without damaging the operator.
Battery Backup Checks Before Summer Storm Season
Richmond summers bring the thunderstorms, and a summer storm grid outage is exactly when a gate with a dead backup battery strands you at the driveway. Most modern operators, LiftMaster and Linear included, run a battery backup that keeps the gate moving for a limited number of cycles when power cuts. That backup is only as good as the battery inside it. A battery that’s sat through a cold winter can test fine for basic power and still fail under load.
Run this check in late spring, before storm season:
- Locate the backup battery, usually in the control box or a separate enclosure near the operator.
- Inspect for corrosion or swelling. A swollen battery is done; replace it before it leaks.
- Test under load: with power on, run the gate open and closed a few times to confirm normal operation.
- Simulate an outage only if the operator manual describes a safe test method. Some systems have a test button; others require disconnecting power at the breaker. If you’re unsure, don’t guess at live electrical work.
- Note the battery’s age. Most backup batteries last a few seasons at best. If yours is older, plan a replacement before summer.
This is one of the most commonly skipped checks. When a storm takes out power, the homeowners who don’t end up locked in are the ones who tested the battery in May. If your system is a Viking or Ghost Controls unit with a different battery layout, the principle is the same: verify it holds charge under load, not just at rest.
The Plumb-and-Level Test That Saves Your Operator
Soil moves. It shifts with rain, frost, and time, and a gate post that was plumb when installed can lean by a degree or two over a couple of seasons. That small lean throws the gate out of alignment with the operator, which then works harder, strains, and eventually fails. The cheap insurance is a plumb and level check.
You need one tool: a torpedo level, the small 9-inch kind that runs about $10 at any hardware store. Here’s the test:
- Check post plumb: hold the level vertically against each gate post, on two adjacent sides. The bubble should sit centered. Any lean in the same direction on both readings means the post is out of plumb.
- Check gate level when closed: lay the level horizontally across the top rail of the closed gate. The bubble should center; a persistent tilt means the gate is sagging.
- Check gate level when open: repeat the horizontal check with the gate fully open. Compare the two readings. A gate that’s level closed but tilted open has a hinge or operator alignment problem.
- Check track level on slide gates: lay the level along the track. A dip or rise in the track causes binding and motor strain.
Do this twice a year, ideally right after the spring thaw and again in fall. If a post reads out of plumb or the gate shows a consistent tilt, call a gate specialist before running the operator further. Catching a half-inch lean now prevents an operator failure later, and it’s the kind of preventive check that keeps a Richmond gate running smoothly through every season.
A Season-by-Season Maintenance Calendar for Richmond
Climate drives the schedule. Here’s how the checklist lines up across a Richmond year, tuned to local rain, pollen, and temperature swings.
Spring (March to May): pollen peak
- Wipe sensor lenses every two weeks during the pollen peak.
- Clear pollen and debris from tracks and hinges.
- Re-lubricate hinge pins and latches after the winter.
- Run the plumb-and-level test as the ground thaws.
- Test the backup battery before storm season.
Summer: storm season
- Monthly sensor cleaning as pollen subsides.
- Check the operator enclosure for moisture after heavy rain.
- Confirm battery backup is holding charge.
- Clear vegetation growth away from the gate path and sensors.
Fall (October to November): pre-freeze prep
- Inspect posts and hinges before the ground freezes.
- Tighten all hinge and latch hardware.
- Lubricate moving parts for the cold months ahead.
- Clear leaf debris from tracks and the operator area.
Winter (December to March): freeze-thaw watch
- Keep an eye on post bases for frost-heave movement.
- Watch for ice buildup on tracks and sensor lenses.
- Reduce manual operation if the gate is dragging; let a specialist look at it.
This calendar isn’t rigid. Your gate’s age, brand, and surroundings shift the timing, but the seasons are the backbone. A Gate repair schedule that follows Richmond’s weather prevents most avoidable breakdowns before they start.
Manual Gate Checks Most Homeowners Skip
If your gate is manual, you might assume there’s nothing to maintain. The opposite is true. Manual gates have no operator to blame, so the hinges, latches, and posts carry all the wear. Skipping these checks is how a smooth-swinging gate becomes a heavy, dragging one.
- Swing test: with the gate free, it should swing through its arc with light effort. If it takes a shove, the hinges are dry or the post has shifted.
- Hinge and latch oiling: a few drops of light oil on hinge pins and a touch of grease on the latch, twice a year at minimum. In Richmond’s rain, more often after wet spells.
- Gate clearance: the gate shouldn’t scrape the ground or the post. A drag point wears the gate and stresses the frame.
- Weld and rust check: look at hinge welds and any painted steel for rust spots. Address rust before it becomes structural.
- Post stability: the same push-and-wobble test as for automated gates.
When a manual gate starts dragging or a hinge comes loose, a specialist can re-align and re-hang it before the wear compounds. That’s simpler and cheaper than waiting for a post to work loose and a whole frame to need re-setting. For the manual side, a gate repair visit that handles alignment and hardware now saves bigger work later.
Keeping a Gate Log (and Why It Pays Off)
Write it down. A simple log of what you did and when turns a vague “I think I oiled it last year” into a clear maintenance history. When something fails, the log helps a technician diagnose faster and helps you spot patterns (like the same sensor fouling every spring).
Keep the log short. Note the date, the task, and any part replaced. Include the operator brand and any model info you have. That history is especially useful with brand-specific systems: if your gate runs a DoorKing or Linear operator, a technician who knows the brand’s known failure points can read your log and go straight to the likely culprit instead of guessing. Our electric systems work, from the control board to the hinge, benefits from exactly this kind of record. For automated issues, the right specialist for an electric gate repair can pick up the thread quickly when the history is clear.
Over a few years, the log becomes a maintenance plan in itself. You’ll know your own gate’s rhythm better than any generic guide ever could, and you’ll catch small trends before they turn into expensive repairs.
Common Mistakes to Avoid
- Over-lubricating everything. Spraying every moving part attracts grit and gums up in cold weather. Match the lubricant to the component, and leave sensor lenses and sealed gearboxes alone.
- Ignoring pollen season. Waiting until a “gate won’t open” moment to clean the sensors means you’ve already been locked in or out. In Richmond, clean photo eyes during the March to May peak.
- Skipping the pre-freeze and post-thaw checks. Frost heave moves posts under your nose. Inspect before the ground freezes and again as it thaws.
- Applying the plumb test only when something breaks. A half-inch lean caught early is a tightening job; caught late, it’s an operator failure.
- Forgetting the backup battery. A test that only checks “power present” misses a battery that fails under load. Test it before summer storms.
- Running a dragging gate. If the gate binds by hand, don’t keep cycling the operator. Fix the drag first; the motor will strain and fail if you don’t.
- Assuming a general handyman can handle electric gates. Control boards, loop detectors, and intercom integrations need a gate specialist. A general contractor often can’t touch them.
See the difference
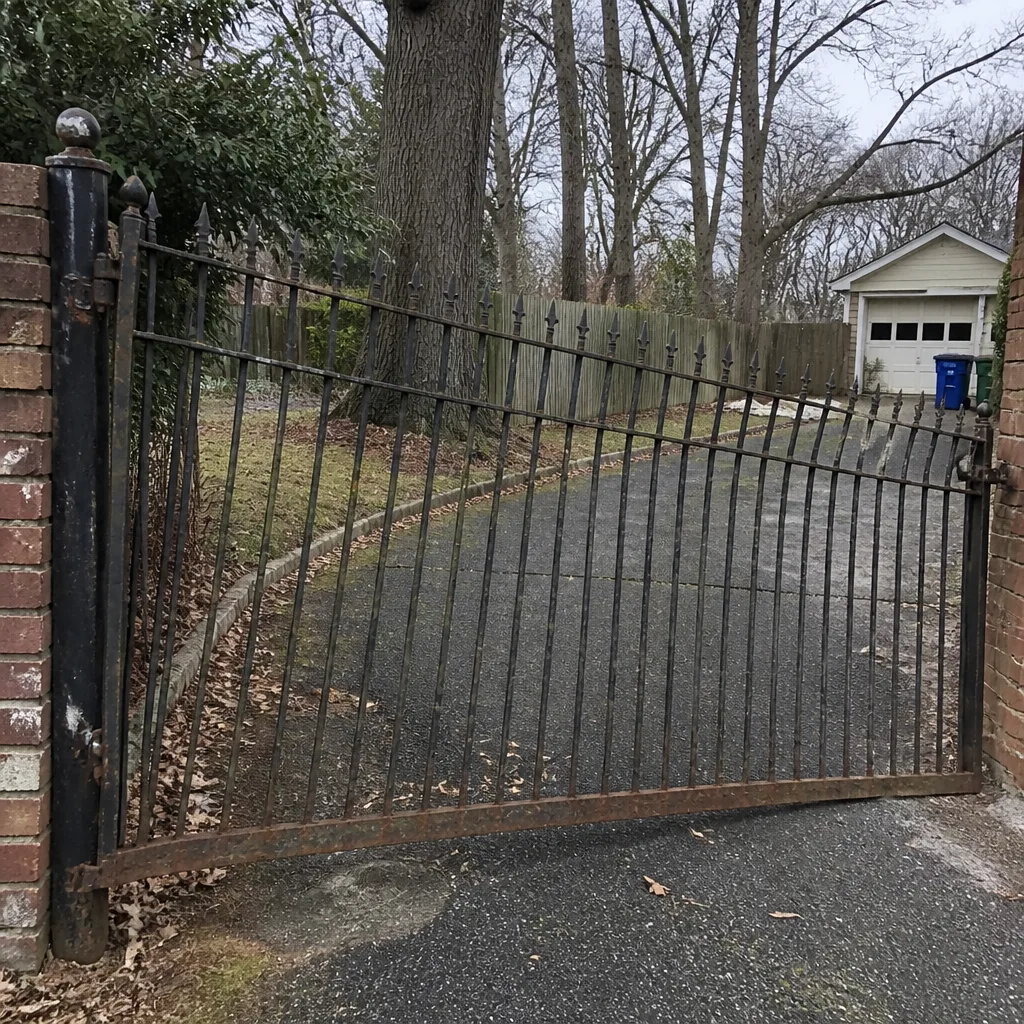 Before
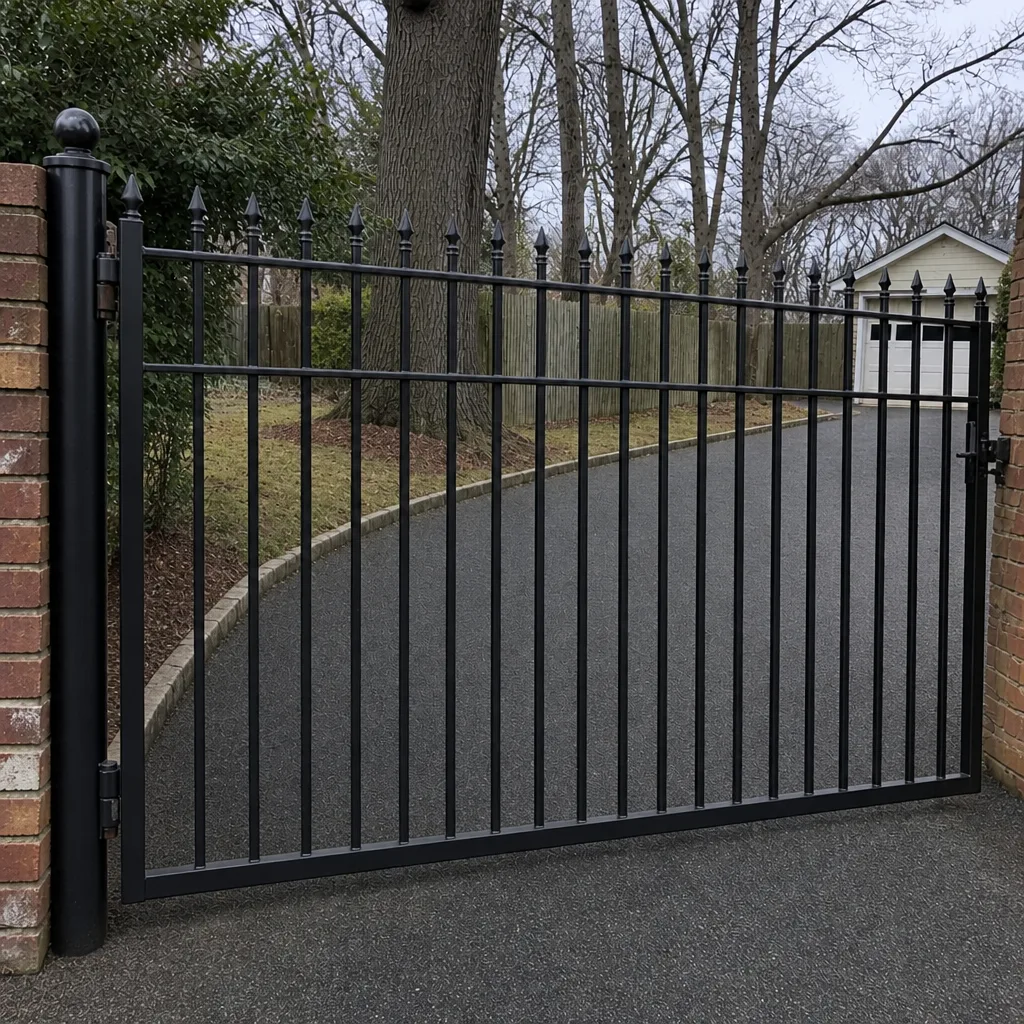 After
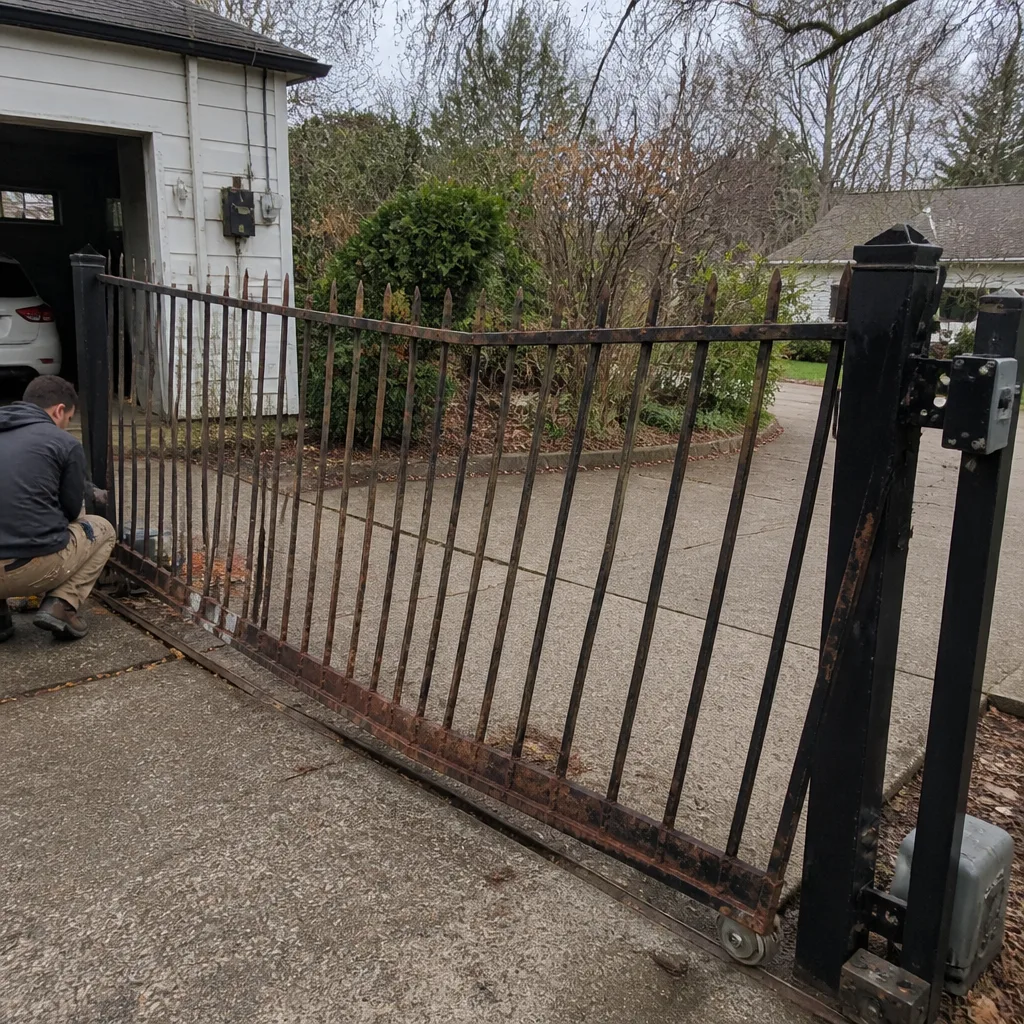 Before
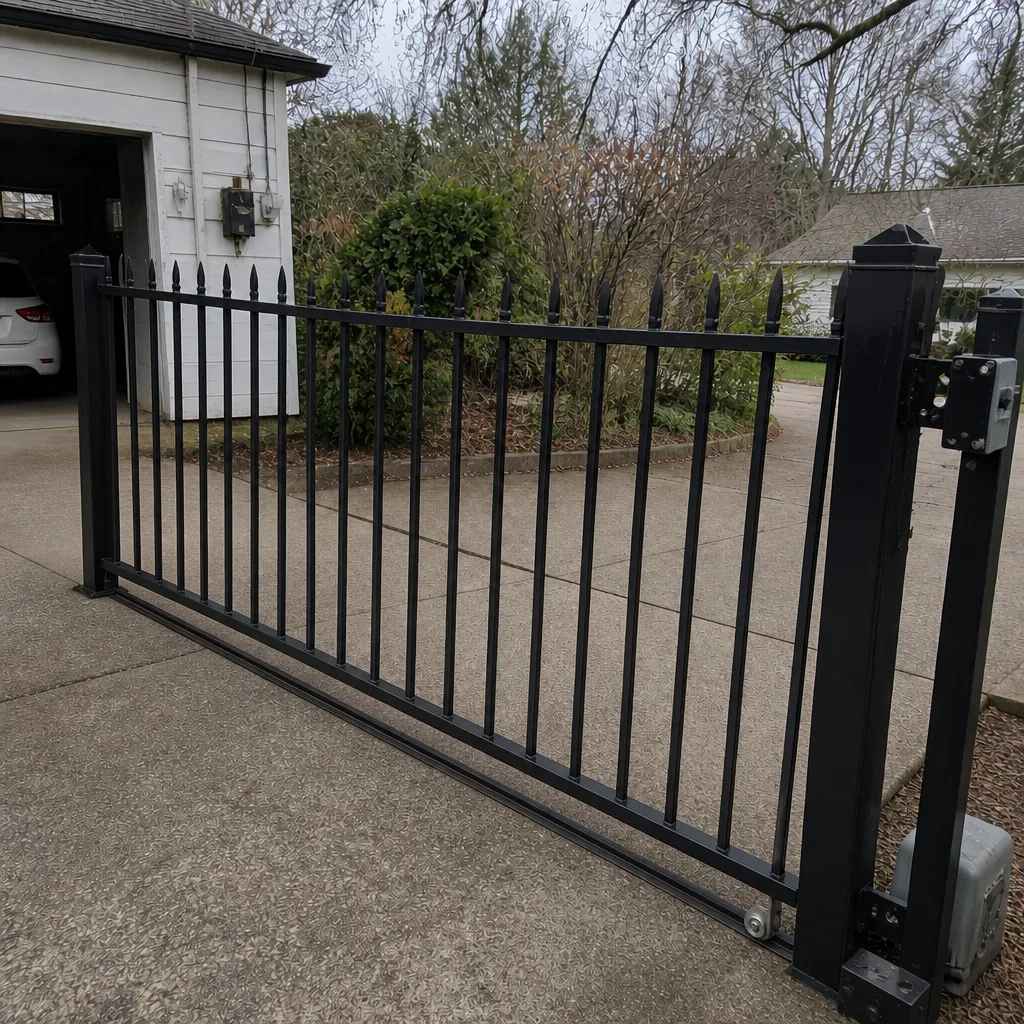 After
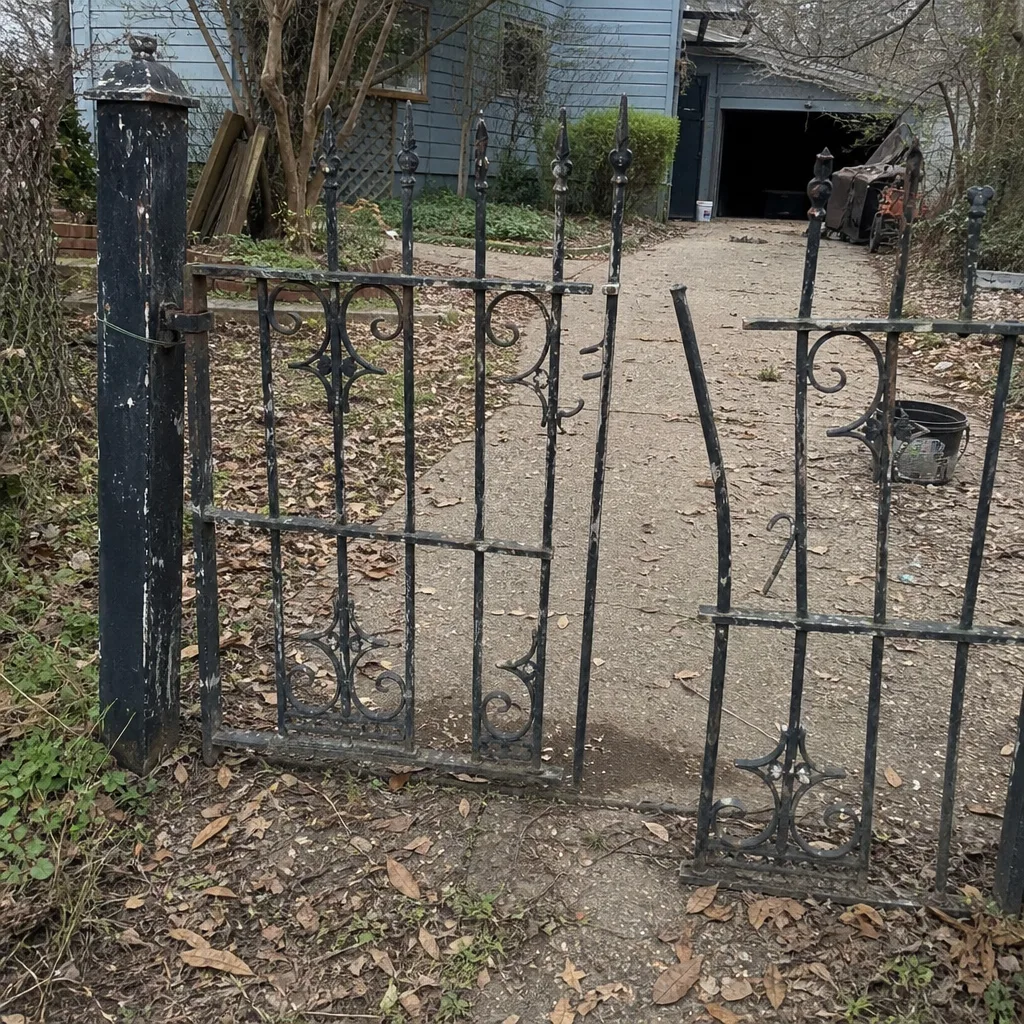 Before
 After
When to Call a Professional
Some tasks are simple homeowner maintenance: wiping sensors, oiling hinges, running a level test. Others are where a professional earns their keep. Call a specialist if a gate post has moved or the footing is cracked; if the operator won’t respond after cleaning the sensors; if the gate drags even after lubrication; if the control board shows fault lights; or if a gate has never been installed correctly and always misbehaves. Electric gate problems, especially with control boards, loop detectors, and motor failures, are exactly the kind of work most general contractors can’t diagnose. Those calls need someone who works on the system, not around it. Richmond Gate Repair offers free estimates in Richmond – call (866) 942-6565. We answer 24/7. Fast dispatch from 7am to 7pm, Sunday through Friday. Our technicians have up to 12 years of experience, and we’re familiar with the brands you’re most likely to own.
Frequently Asked Questions
Clean them monthly for most of the year, but every two weeks during Richmond’s March to May pollen peak. Pollen coats the lenses faster than most maintenance guides expect, and a dirty photo eye is the most common cause of a gate that won’t open or close. A quick dry-microfiber wipe on both lenses solves it.
Oil hinge pins and latches, apply dry lubricant to roller and track surfaces, and keep sensor lenses, sealed gearboxes, and control boards completely dry. Over-lubricating is as harmful as skipping it, so match the product to the component. If you’re unsure about your operator brand, call (866) 942-6565 for guidance.
Inspect in late fall before the ground freezes and again in early spring as it thaws. Richmond’s freeze-thaw cycle, usually November through March, is when frost heave moves posts and stresses hinges the most. Catching movement on both ends of that window prevents bigger repairs.
Your backup battery is likely dead or failing under load. Most operators keep a backup battery that powers a limited number of cycles, and a battery that’s been through winter can fail when tested. Check it in late spring, before Richmond’s summer storm season, and replace it if it’s old or swollen.
You can test for misalignment with a $10 torpedo level, and you should. But if a post reads out of plumb or the gate drags regardless of lubrication, it’s a professional job. Re-aligning a gate and its operator without causing more strain needs the right tools and experience.
For sensor cleaning and lubrication, a handyman is fine. For electric gate issues, control boards, loop detectors, intercoms, and operator failures, you need a gate specialist. General contractors typically can’t diagnose those systems. Call (866) 942-6565 if your gate’s issues go beyond simple maintenance.
The Bottom Line
Gate maintenance in Richmond isn’t the same as gate maintenance anywhere else. The pollen load and the 44-plus inches of annual rain mean sensors foul faster and hardware corrodes sooner, and the November to March freeze-thaw cycle moves posts in ways a mild-climate guide never addresses. The checklist here is built for those conditions: monthly sensor cleaning, brand-appropriate lubrication, post and hinge inspection on both ends of the cold season, a spring battery test, and a twice-yearly plumb check. Done on this schedule, most failures never happen. When one does, and it goes beyond a wipe-down or an oil can, that’s the point to bring in a specialist. Richmond Gate Repair handles gate repair, electric systems, and installation across Richmond, and we work on the brands you own. Call (866) 942-6565 for a free estimate. Whether your gate won’t open, won’t close, or was never installed right, we can help. Learn more about Richmond Gate Repair and what we do, or read about our Richmond service and full installation work.
Written by the team at Richmond Gate Repair.