
Last updated November 16, 2026
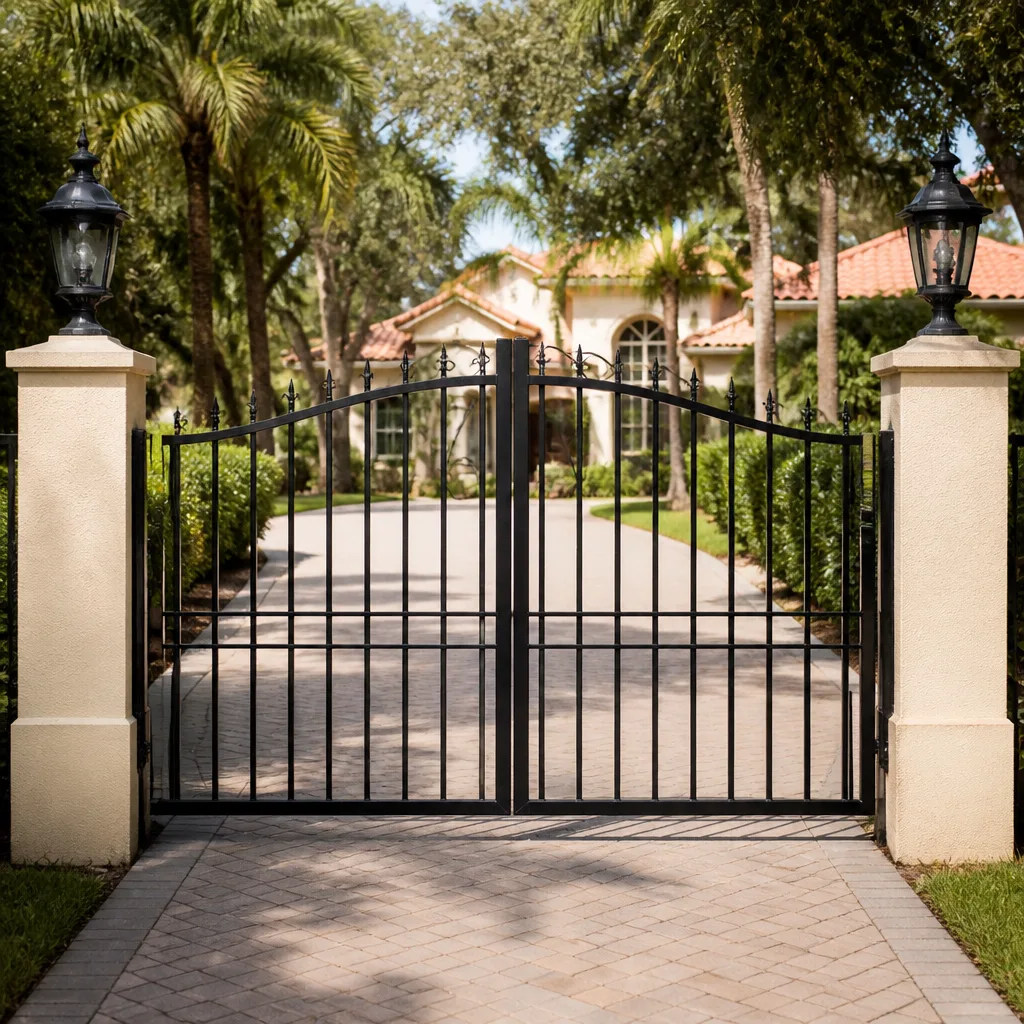 Wrought iron
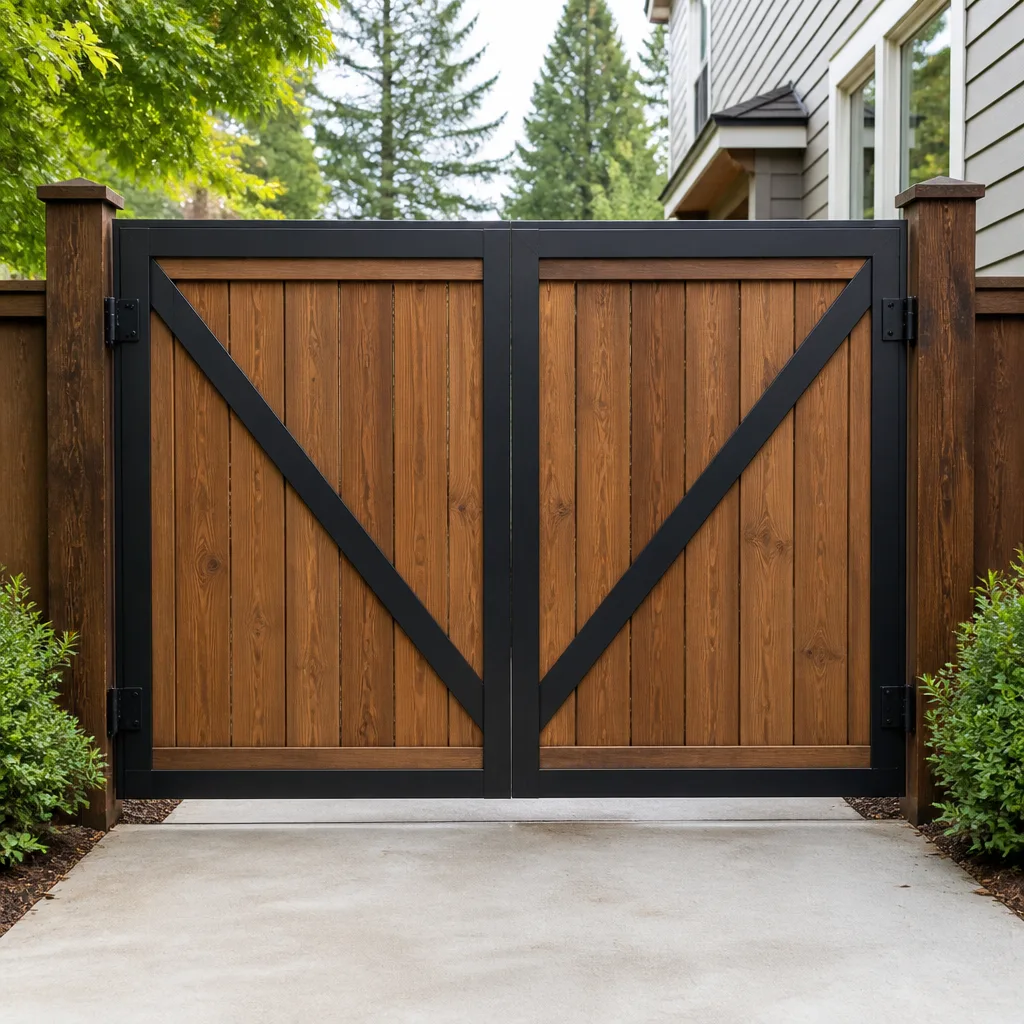 Wood & steel frame
 Farm & ranch
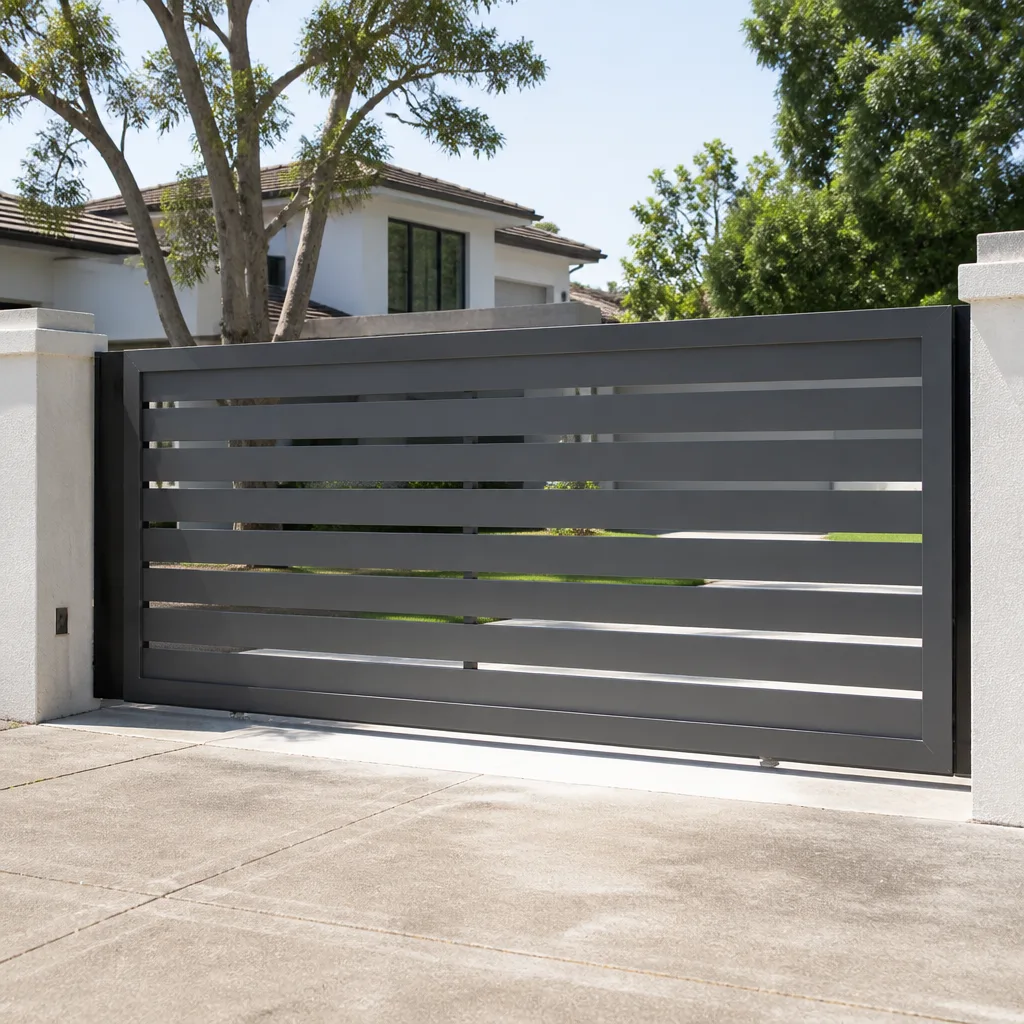 Sliding driveway gates
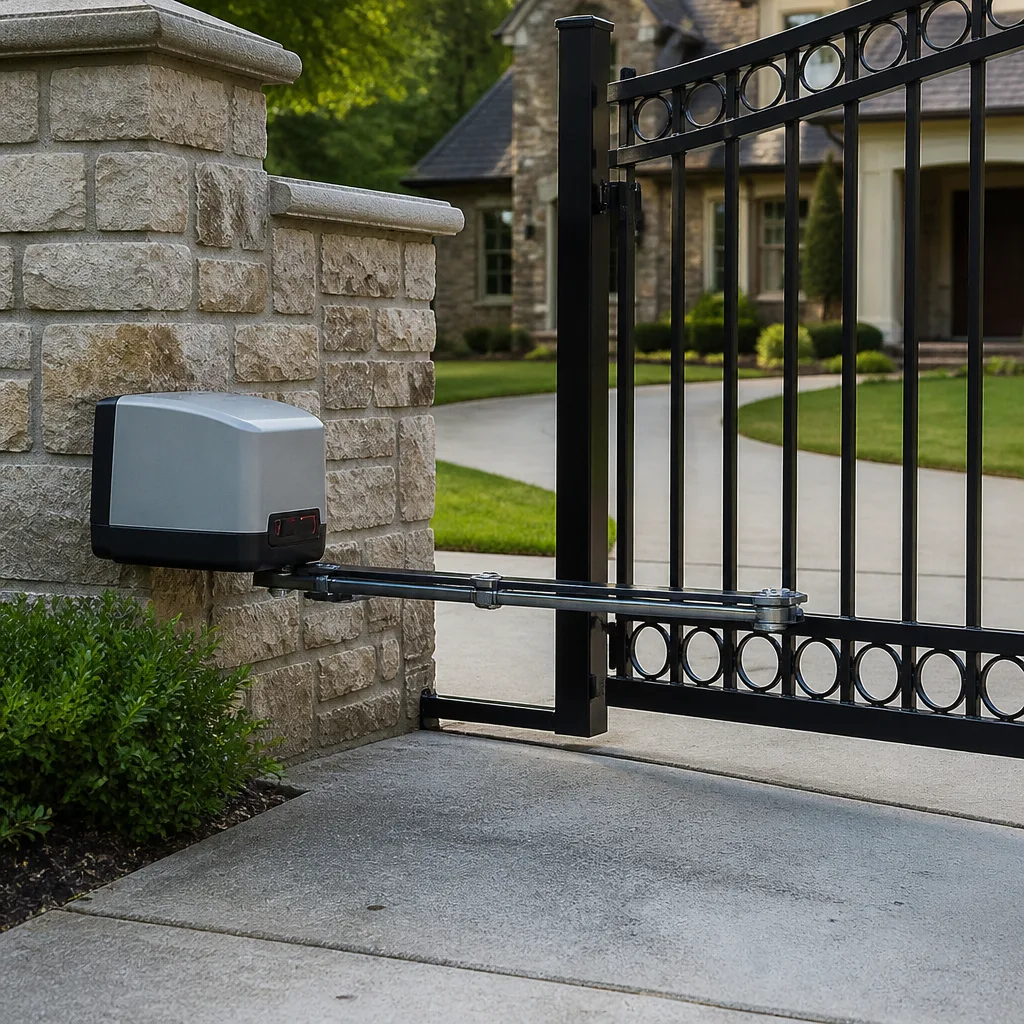 LiftMaster operators
Free on-site gate assessment - hinges, posts, and your LiftMaster or Nice gate operator checked before anything is quoted
The assessment is free and the quote is the invoice.
Get your free estimateGate Repair Warning Signs: A Richmond Homeowner’s Reference Guide
A gate that “pauses before opening” and a gate that “reverses after a foot of travel” sound like the same problem when you describe them over the phone. They almost never are. One usually points to a logic or safety-loop issue in the operator; the other is frequently a travel-limit or obstruction problem that gets worse every cycle. The trap most Richmond homeowners fall into is treating a symptom as the diagnosis. This guide is built to fix that. We’ll walk through the sounds, speeds, visual cues, and remote quirks that predict which component is about to fail, and how Richmond’s own frost-and-rain seasons early in the year push gates toward failure in predictable ways. By the end, you’ll be able to describe your gate’s behavior the way a technician needs to hear it.
Quick Answer
The main warning signs of a failing gate are grinding, clicking, squealing, or a low hum from a stalled motor; intermittent slow operation, partial-open stops, or unexpected reversal; post lean, hinge cracks, and rust in high-wear spots; and controls that work with the keypad but not the remote (or the reverse). Catching any one of these early usually keeps a small repair small. Ignoring them is what turns a hinge or limit adjustment into a motor or control-board replacement.
Styles & brands we work with
- Wrought iron
- Wood & steel frame
- Farm & ranch
- Sliding driveway gates
- LiftMaster operators
Table of Contents
- Sound-Based Diagnosis: What Your Gate Is Telling You
- Speed and Movement Irregularities
- Visual Cues: Post Lean, Hinge Fatigue, Rust Patterns
- Remote and Keypad Inconsistency
- Richmond Seasonal Warnings
- Brand-Specific Behavior: LiftMaster vs. Viking vs. FAAC
- Your 10-Minute Monthly Walk-Around
- Common Mistakes to Avoid
Sound-Based Diagnosis: What Your Gate Is Telling You
Sound is the most honest signal a gate gives you. Components announce wear through pitch, rhythm, and timing long before the gate stops working, and each sound points at a different part of the system. Here’s how we translate the four noises Richmond homeowners describe most often.
- Grinding usually means a gear or drive-train problem. On a chain-drive operator, a dry or worn chain is the first suspect. On a screw-drive unit, worn teeth in the gear head produce a harsh, continuous rasp every cycle. Grinding rarely fixes itself and tends to worsen as metal wears metal.
- Clicking is almost always electrical. A relay inside the control board engages with a single smart click per command, which is normal. Rapid or repeated clicking that doesn’t move the gate points to a relay, a capacitor, or a board-level fault. If you hear clicking but the gate is silent otherwise, the mechanical side is fine and the command isn’t reaching the motor.
- Squealing is mechanical friction, not failure yet. A dry hinge, a tired bearing, or a chain that needs lubrication produces a high, smooth whine on travel. Los Angeles homeowners hear this after long dry spells; in Richmond, it often shows up after a stretch of humidity washes lubricant off exposed hardware.
- A low hum with no movement is the most urgent. That’s a motor receiving power and trying to turn but unable to. The gearbox may be seized, the gate may be jammed against an obstruction, or a limit is set wrong. Left running, a stalled motor overheats the windings and the motor becomes a replaceable part instead of a repairable one.
If you hear a hum for more than a few seconds, stop commanding the gate. Every press of the remote pushes current through a motor that can’t spin. On slide gates, check for a physical obstruction in the track. On swing gates, check that a leaf isn’t resting against the ground or bound against a post. If neither is obvious, that’s the point to call in a specialist. Our technicians have up to 12 years of experience diagnosing exactly these sounds, and we work on Richmond Gate Repair systems every week, so we know which component typically makes which noise before we arrive. Whether your gate won’t open, won’t close, or was never installed right, the sound is the fastest clue you’ll get.
Speed and Movement Irregularities
A gate that has started moving slower, stopping earlier, or changing direction mid-travel is sending a different class of signal than a noisy one. Movement problems usually point at the operator’s logic, its travel limits, or its safety sensing rather than at the mechanical hardware. The pattern of irregularity matters, because each one narrows the fault.
- Intermittent slow operation. Speed that varies from cycle to cycle usually points at a battery or power supply issue on operators that rely on backup batteries, or a voltage sag reaching the motor. It can also indicate a control board beginning to fail.
- Partial-open stops. If the gate opens halfway and stops, the operator believes it has reached its full-open limit. On a slide gate, this is often a travel limit that has drifted. On a swing gate, it’s usually an obstruction in the leaf’s path: dirt under the leaf, a hinge that has settled, or a post that has leaned into the travel arc.
- Reversal after one foot of travel. A gate that starts closing, reverses after about a foot, and repeats is almost always sensing an obstruction. Safety loops, photo-eyes, or an edge sensor are triggering, either because something is actually in the path or because the sensor is faulty or misaligned.
- Reversal only in one direction. If the gate opens smoothly but stops short or reverses on close (or the reverse), an obstruction or the reverse-direction limit is the likely culprit. Direction-specific failures are a strong hint for the technician.
- Random hesitations. A pause before the gate begins moving suggests the control board is receiving the command but waiting on a safety input before committing. Intermittent safety sensors are common in Richmond after rain pushes moisture into exposed wiring.
Take notes when the behavior repeats. “It reverses after one foot” is a different story than “it reverses sometimes.” The specificity shortens diagnostic time and heads off return visits. If the reversal behavior repeats on purpose, stop commanding the gate until a technician looks at it. Cycles that trigger a safety reversal stress the drive train every time.
Visual Cues: Post Lean, Hinge Fatigue, Rust Patterns
Gates fail visually before they fail audibly. A five-minute walk around gives you most of the information you need, if you know where to look. This isn’t about spotting cosmetic wear; it’s about reading where the load is concentrating, because that’s where failure will show up first.
- Post lean. A gate post that has tipped away from or toward the leaf is the single most predictive visual warning sign we see. The lean often traces to soil movement (frost heave, saturation, or age) rather than to the post itself. A leaning post loads the hinges and the operator unevenly, and no amount of lubrication fixes it. The post needs to be reset or replaced.
- Hinge fatigue cracks. Look at the weld points on each hinge, especially on the bottom hinge of a swing gate. Hairline cracks around a weld typically start where the hinge plate meets the frame. They open under load and tend to grow slowly until the hinge fails. Any crack that’s widened since you last looked is an early replacement indicator.
- Rust patterns. Uniform surface rust is cosmetic. Concentrated rust in a specific spot is diagnostic. Rust around a hinge pin points at a hinge that’s failing. Rust where the leaf meets the post points at a joint that’s flexing. Rust around a bolt on the operator bracket points at a bracket that’s loosening. Where rust concentrates, movement is happening, and that movement is usually the failure.
- Scuff marks on the ground. A slide gate that has begun dragging leaves a scratch in the dirt or concrete track. That’s a sign the gate is riding lower than designed, often from roller wear, and it will eventually bind the motor.
- Cable and wire exposure. On electric gates, look at the wire runs near the operator and the safety sensors. UV damage, animal chew, and insect intrusion all leave visible marks, and exposed wiring at a sensor is one of the most common causes of an intermittent obstruction fault.
Digital photos taken once a month from the same angle make a large difference. Hairline cracks and slow leans are hard to spot from memory but easy to compare against a baseline. Take those photos on the first of the month for a few months and you’ll know your gate better than most owners ever will.
Remote and Keypad Inconsistency
A gate that opens from the keypad but not the remote (or the reverse) is one of the most useful diagnostic clues a homeowner can hand a technician. It tells us the fault lives in a specific subsystem rather than in the operator itself. Each pattern points to a different place.
- Keypad works, remote doesn’t. The operator is fine; the remote is the problem. Suspects: a dead remote battery, a remote that’s lost programming, or a receiver that’s picking up interference. If multiple remotes fail but the keypad works, the receiver or its antenna is likely the issue.
- Remote works, keypad doesn’t. Usually the keypad’s own power (battery or low-voltage feed), a stuck key, or lost programming in the keypad’s memory. Less commonly, an issue with the keypad’s wiring to the operator.
- Neither works, but the manual wall switch does. That narrows to the receiver and antenna. Something has interrupted the wireless signal path, either the receiver itself or interference from a nearby device.
- Nothing works, and the manual switch doesn’t either. The control board or the power feed to the operator is the likely fault. That’s a call-out, not a remote fix.
- Works at close range only. Antenna placement, a bent or corroded antenna, or a failing receiver. Range loss is one of the earliest signs a receiver is on its way out.
Document which control triggers the gate and which triggers nothing. “The DoorKing keypad opens it, the remotes don’t” is a precise statement. Spend a couple of minutes testing each control individually before you call, because that information alone can save on the diagnostic trip. And if the gate responds to none of the controls, stop pressing buttons and check the power at the breaker first. It’s the least interesting cause and the most common.
Richmond Seasonal Warnings
Gates in the greater Richmond area fail in seasonal patterns, because local weather acts on the soil under the posts and on the hardware above them. Two windows in particular tell you something about your gate that no other season does.
After the first hard frost. Ground temperatures drop and soil contracts. Posts that were marginal in the fall will reveal themselves now, either by moving or by forcing a leaf’s travel to bind. If a gate that ran smoothly in October suddenly drags, stops short, or reverses on the first cold morning, the fault is often soil movement or post settlement rather than operator failure. Cold weather also stiffens lubrication and batteries, so intermittent slow starts in a cold snap are common. We typically expect a wave of post-related diagnostics after the first hard frost, and a post that’s leaning now won’t straighten on its own.
After a week of heavy rain. Saturated soil is the second big test. Posts can shift with the ground, and moisture finds its way into safety sensor wiring, hinges, and the underside of the operator housing. Common post-rain symptoms include safety reversals (moisture in a photo-eye or loop), stiffness, and rust bloom around hinge pins. Rust that appears only after rain is a hardware maintenance signal, not necessarily a failure signal, unless it’s concentrated in the load-bearing spots covered in the visual section.
Both of these patterns are why the timing of a symptom matters. If your gate starts acting up in late winter or early spring in Richmond, mention the recent weather. It helps us rule out operator failure first and check the foundation before we start replacing parts. And if the gate reverses or refuses to move after rain, don’t force it; that behavior is usually the operator trying to protect itself.
Brand-Specific Behavior: LiftMaster vs. Viking vs. FAAC
Every operator brand has its own typical failure mode, its own quirks in how it reports a fault, and its own pattern of what goes first. A technician who knows the brand doesn’t start from scratch. A technician who doesn’t, spends the first visit looking things up. Here’s how the brand knowledge shapes what we look for first.
- LiftMaster. The most common residential and light-commercial operators in Richmond. The control board is the usual first suspect for intermittent control issues; the drive train and the capacitor are the usual suspects for slow or stalled movement. LiftMaster boards and remotes tend to fail quietly rather than dramatically, which is why intermittent behavior is often the only early sign.
- Viking. Frequently found on swing gates. Viking operators are solid but sensitive to post settlement and hinge binding: when a gate leaf has shifted a fraction of an inch, the operator feels it as load. Speed irregularities on a Viking usually trace to the gate itself, not the operator.
- FAAC. Common on hydraulic swing and slide gates. The hydraulic units have specific failure modes around fluid seals and pressure, and the sound of a hydraulic operator starting to go is different from a gear-driven one. A low hum or a pause on a FAAC often points to the hydraulic side, not the electronics.
- Linear and DoorKing. Linear operators are frequent in residential slide applications, and DoorKing is common in gated community entries and access-controlled drives. Both have distinct receiver and access-control behaviors that determine which control works and which doesn’t.
We work on many of these systems every day, and we’re familiar with the quirks of each manufacturer’s hardware. When a homeowner tells us the brand before we arrive, we know which component to check first. That shortens the diagnostic and keeps return visits down. It’s also why we don’t hand an electric gate repair job to a generalist; the control board, the loop detector, and the motor failure modes all read differently on the schematic than on the telephone.
Your 10-Minute Monthly Walk-Around
A short, structured check each month catches the majority of developing problems before they become calls. Nothing here requires tools, and nothing involves opening the operator housing or touching wiring. If you find something that requires a wrench or the panel, that’s a job for a technician.
- Listen. Stand at the gate and run one full open-and-close cycle. Note any grinding, clicking, squealing, or hum with no movement. Write down what you hear and when.
- Watch the speed. Does the gate move at a consistent speed, or does it vary from cycle to cycle? Does it pause before moving? Does it stop short or reverse?
- Check the posts. Sight down each post from the end of the drive. Look for any lean. Check that the ground around the base hasn’t softened or cracked.
- Inspect hinges. On swing gates, look at the weld points on each hinge for hairline cracks. On slide gates, look at the rollers for wear and the track for debris.
- Look for rust concentration. Uniform rust is fine; rust in a spot that’s growing is not. Focus on hinge pins, bracket bolts, and the leaf-to-post joint.
- Test the controls separately. Test the remote, the keypad, and the interior wall switch individually. Note which control works and which doesn’t.
- Check the safety sensors. With the gate open, pass a hand or an object through the photo-eye path and confirm the gate responds. A sensor that fails this test is a safety hazard and needs attention now.
- Look at the wiring. Check the visible cable runs near the operator and the sensors for chew marks, UV cracking, or moisture intrusion.
- Test the manual release. Follow the manufacturer’s instructions to confirm the manual release still works. It’s the safety backstop if the operator fails.
- Take a photo from the same spot each month. Compare against last month’s photo. Slow changes are invisible in memory but obvious side by side.
If two or more of these checks flag something, that’s the moment to call. If one flags something that’s been the same for months, note it and keep watching. The pattern matters more than any single finding. If the manual release doesn’t work, or the safety sensors fail, or the gate reverses when nothing is in the path, call us before the next use of the gate, not after. gate repair that addresses the cause early is almost always less costly than repair that addresses the aftermath.
Common Mistakes to Avoid
- Treating a symptom as the diagnosis. “It doesn’t open” covers a dead motor, a stuck safety sensor, and a lost remote equally. Note the symptom, then describe it precisely. It’s the difference between a technician arriving with the right part and arriving with a shopping list.
- Repeatedly pressing the remote on a stalled gate. A hum with no movement means the motor can’t turn. Every press stresses the windings. Use the manual release per the manufacturer’s instructions and check for obstructions before trying again.
- Opening the operator housing to “take a look.” The wiring inside the operator carries line voltage, and the safety sensors and control board don’t take kindly to probing. That’s a job for a trained technician.
- Ignoring a post lean. A leaning post loads the hinges and the operator unevenly, and a post that’s leaning will not correct itself. Post work is foundational; skip it and everything above it fails faster.
- Lubricating everything. Grease on a chain is normal maintenance; grease on a hinge pin designed without it attracts grit and accelerates wear. Follow the manufacturer’s lubrication points, not a general rule.
- Assuming it’s the remote. A remote that doesn’t work is often a receiver problem, and replacing remotes repeatedly doesn’t fix a receiver. Test the keypad and the wall switch before buying new transmitters.
- Waiting for the gate to stop working entirely. A gate that hesitates, reverses, or slows is giving you the window to fix it at the cheapest point. The most expensive repairs in our experience start with a symptom that was visible for weeks. Don’t wait for the failure.
See the difference
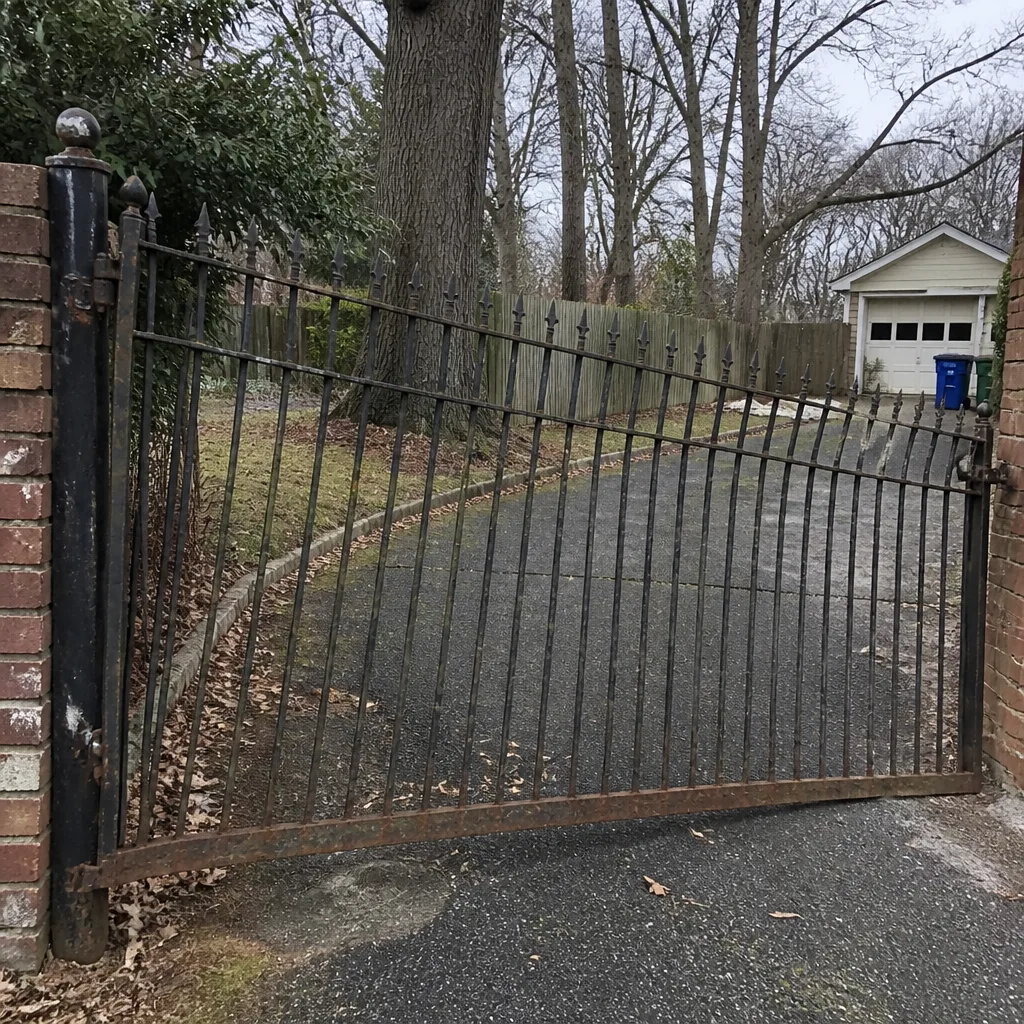 Before
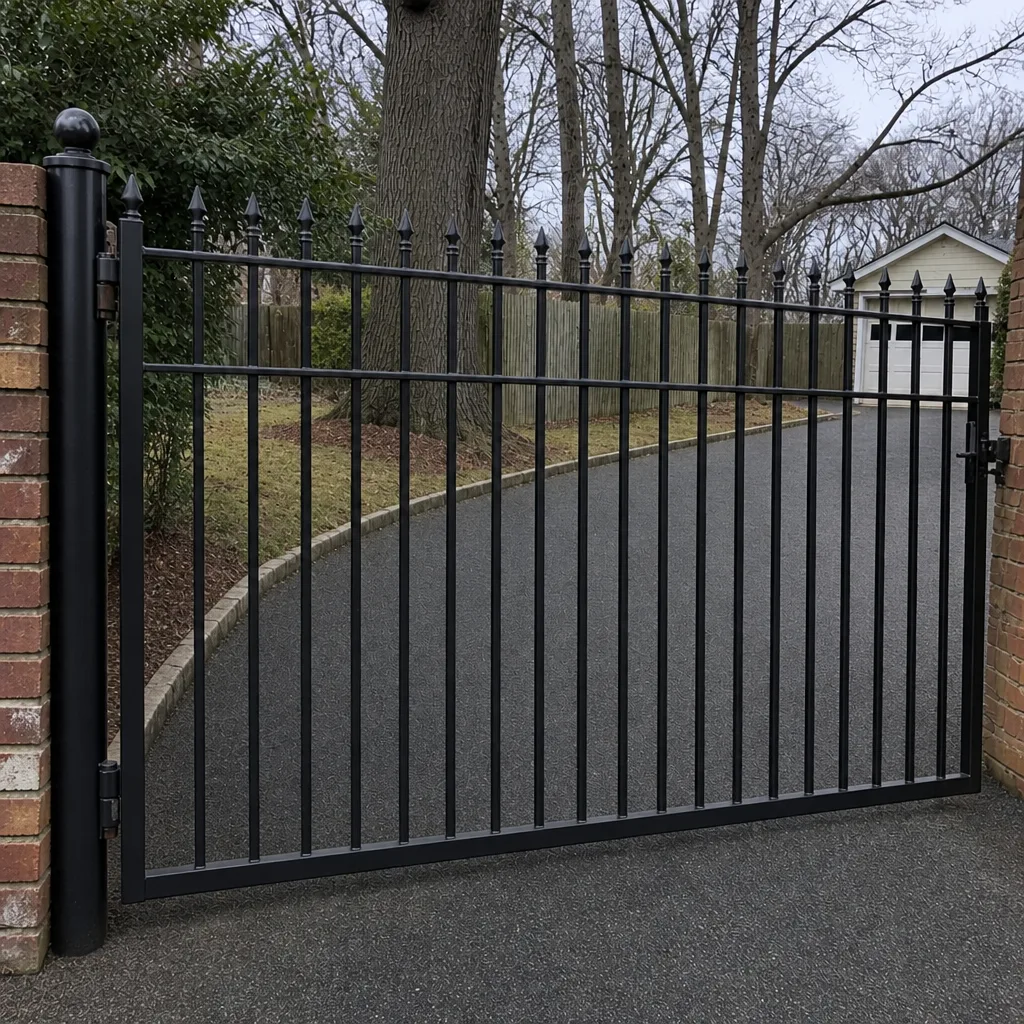 After
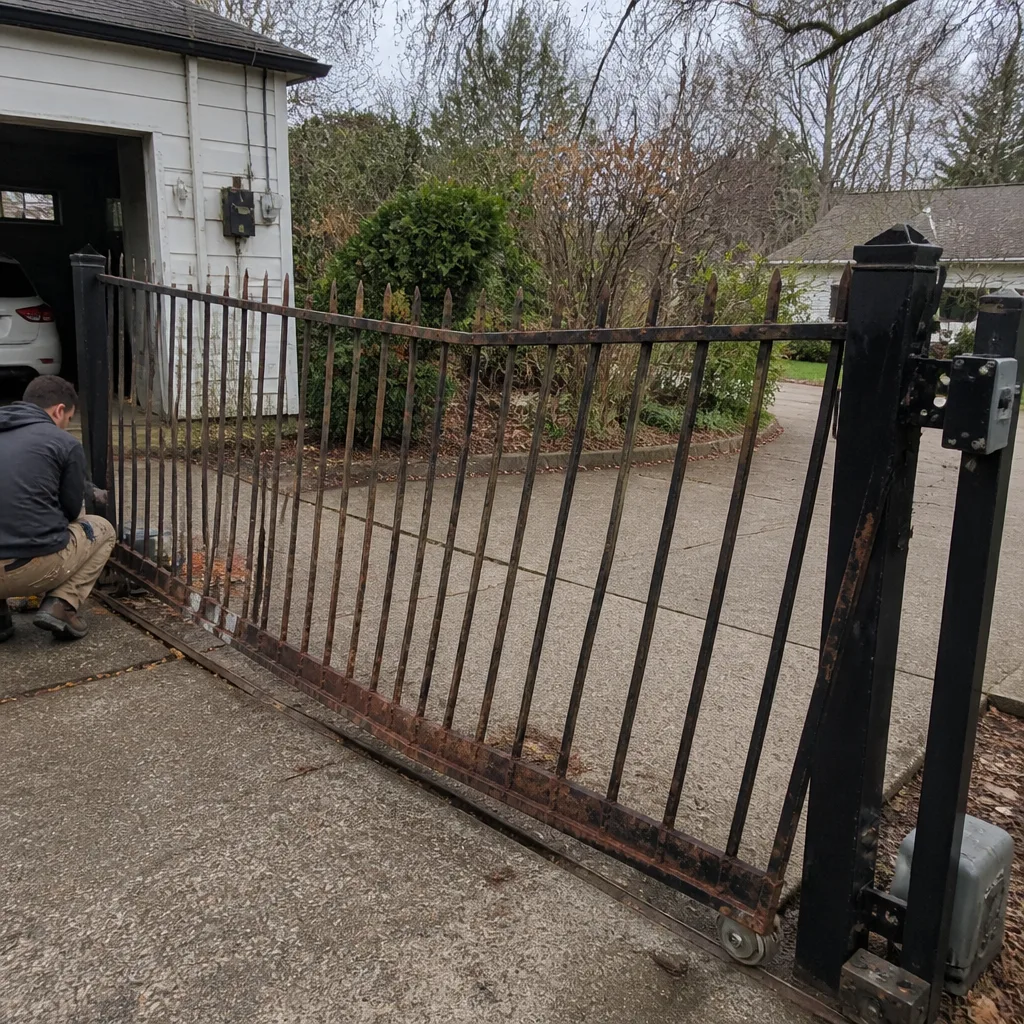 Before
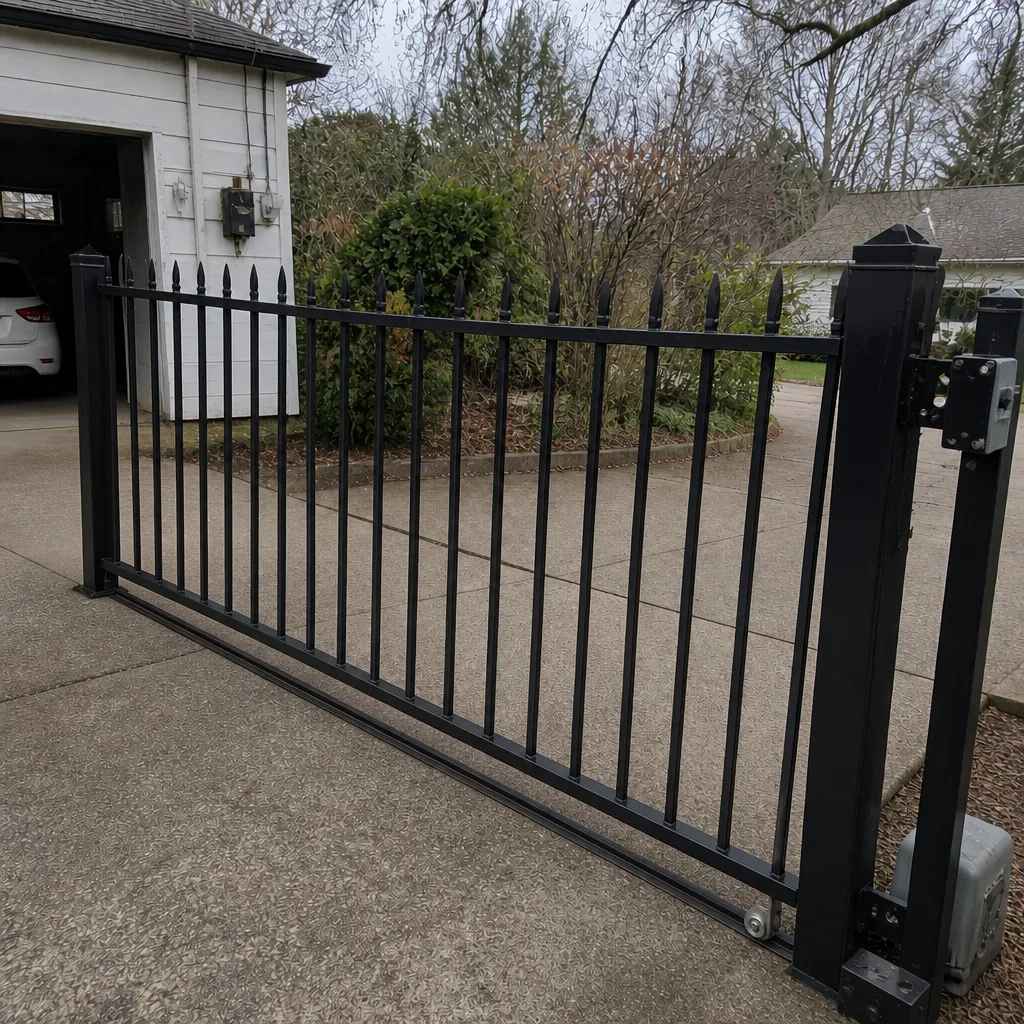 After
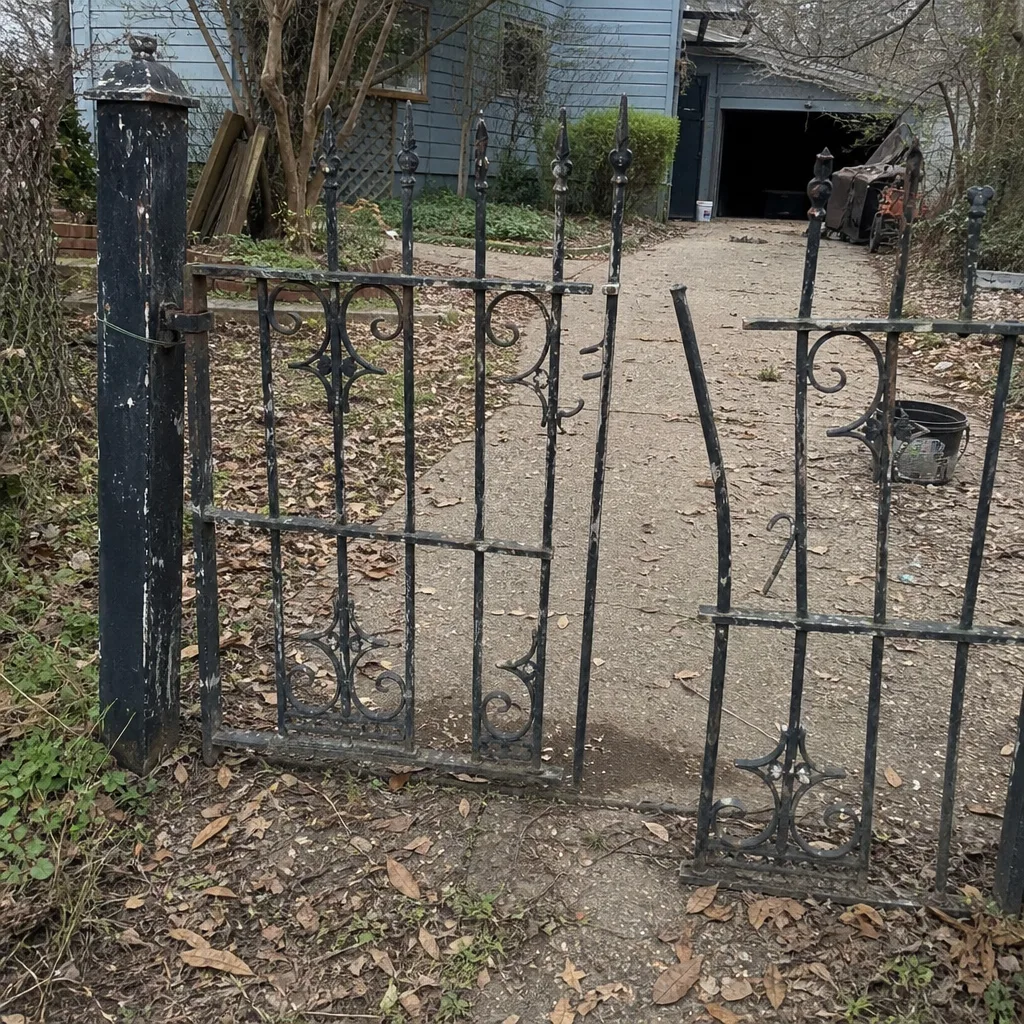 Before
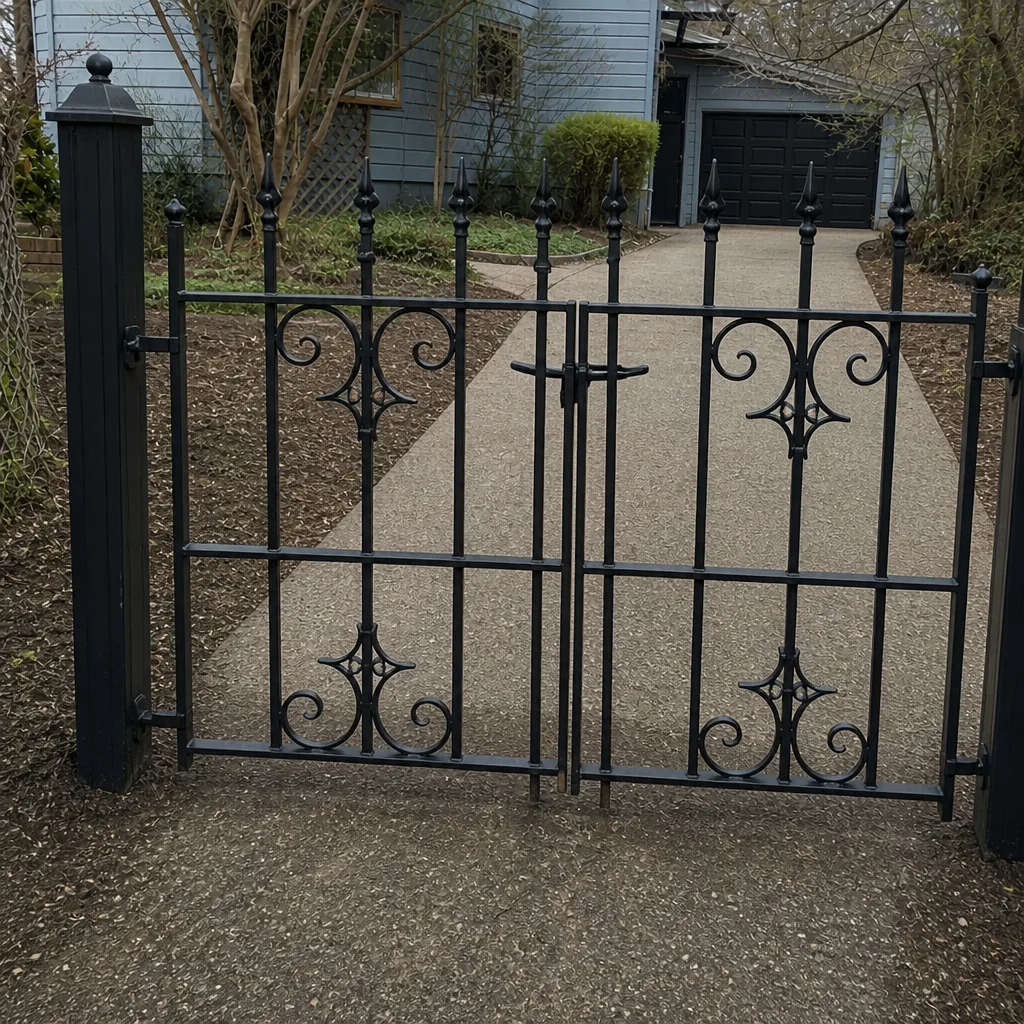 After
When to Call a Professional
Call a specialist when the gate hums without moving, reverses with nothing in its path, or stops short on a consistent basis. Call when a post has leaned, when a hinge shows a crack, or when rust is concentrating in one joint. Call when the remote, keypad, and wall switch give inconsistent results, or when the operator housing is getting hot, clicking repeatedly, or tripping a breaker. Call when the manual release won’t release. Call when the safety sensors don’t respond to a hand passed through the beam. Call after the first hard frost or a week of heavy rain if the gate suddenly behaves differently. None of these is a match for a homeowner with a wrench and YouTube. They’re all cases where a technician with brand familiarity saves both time and repeat visits. Richmond Gate Repair offers free estimates in Richmond, and we handle gate repair, electric gate repair, and full installation across the area. Call (866) 942-6565. We answer 24/7. Fast dispatch from 7am to 7pm, Sunday through Friday.
Frequently Asked Questions
The most common early warning sign is a change in sound: grinding, clicking, squealing, or a hum with no movement. Any of these, appearing consistently, means a component is telling you it’s worn. Catching it at that stage is usually cheaper than waiting for the gate to fail outright. If you hear a hum for more than a few seconds, stop using the gate and call.
Reversal after roughly a foot of travel is almost always a safety-sensor trip, either something in the actual path or a faulty or misaligned sensor. On a swing gate, check the photo-eyes and the path clearance. On a slide gate, check the safety loops. If nothing is in the path and the reversal repeats, the sensor or its wiring is the first thing a technician will test. Don’t force the gate through it; the operator is trying to protect itself. Call (866) 942-6565 for a free estimate and we’ll sort out the sensor.
It means the operator is fine and the fault is in the remote, the receiver, or the wireless signal path. Start with the remote battery and its programming, then check whether other remotes also fail. If all remotes fail but the keypad works, suspect the receiver or its antenna. If you’ve ruled out the battery and programming, a diagnostic call is the fastest route to the answer.
Sudden behavior changes after cold or heavy rain almost always point to soil movement or moisture intrusion rather than to an operator failing. Frost heaves and saturated ground shift posts; moisture finds its way into sensors and wiring. If the gate started acting up after weather, mention it when you call, because it helps the technician check the foundation and the sensors before replacing parts. Call (866) 942-6565 to book a free estimate.
No. Lubrication helps specific points, primarily chains and keyed bearings, but greasing the wrong parts attracts grit and accelerates wear. The noise you hear is the symptom, not the cause. If the noise is grinding or clicking, lubrication won’t fix it; that’s a mechanical or electrical fault. If it’s squealing, targeted lubrication may quiet it, but the underlying bearing may still need attention.
If the gate runs smoothly and the only issue is an intermittent sound, you can use it while you book an estimate, provided the safety sensors and manual release work. If the gate reverses, stalls, hums, or scrapes, stop using it until a technician looks at it. The window where a repair is small is real, and it closes fast. When in doubt, call (866) 942-6565. We answer 24/7, and dispatch runs 7am to 7pm, Sunday through Friday.
For safety and control-board issues, you need a specialist. A general handyman or fence company won’t have the brand familiarity or the diagnostic depth to trace a control-board or loop-detector fault. The nine brands we work with most (LiftMaster, FAAC, BFT, Linear, Viking, Ghost Controls, DoorKing, Elite, and Mighty Mule) each have their own quirks. A technician who knows the brand arrives already looking in the right place. Call (866) 942-6565 for a free estimate.
The Bottom Line
Gates announce their failures for weeks before the gate actually stops. The sound (grinding, clicking, squealing, or a stalled hum), the pattern of speed and reversal, the visual cues (post lean, hinge cracks, concentrated rust), and the control inconsistency all narrow the fault to a specific component before a technician ever arrives. The skill is in noticing the symptom and describing it precisely, and in knowing that Richmond’s hard frosts and heavy rains have their own signature, separate from purely mechanical wear. Our technicians have up to 12 years of experience, and we’re focused on gates alone: gate repair, electric gate repair, and installation. If one thing in this guide sticks with you, make it this: a small repair done at the first symptom is the cheapest repair you’ll ever do. Call (866) 942-6565 for a free estimate. We answer 24/7. Fast dispatch from 7am to 7pm, Sunday through Friday, and we’re closed Saturdays.
Written by the team at Richmond Gate Repair.